DIY Watercolor Floral Photo Prop
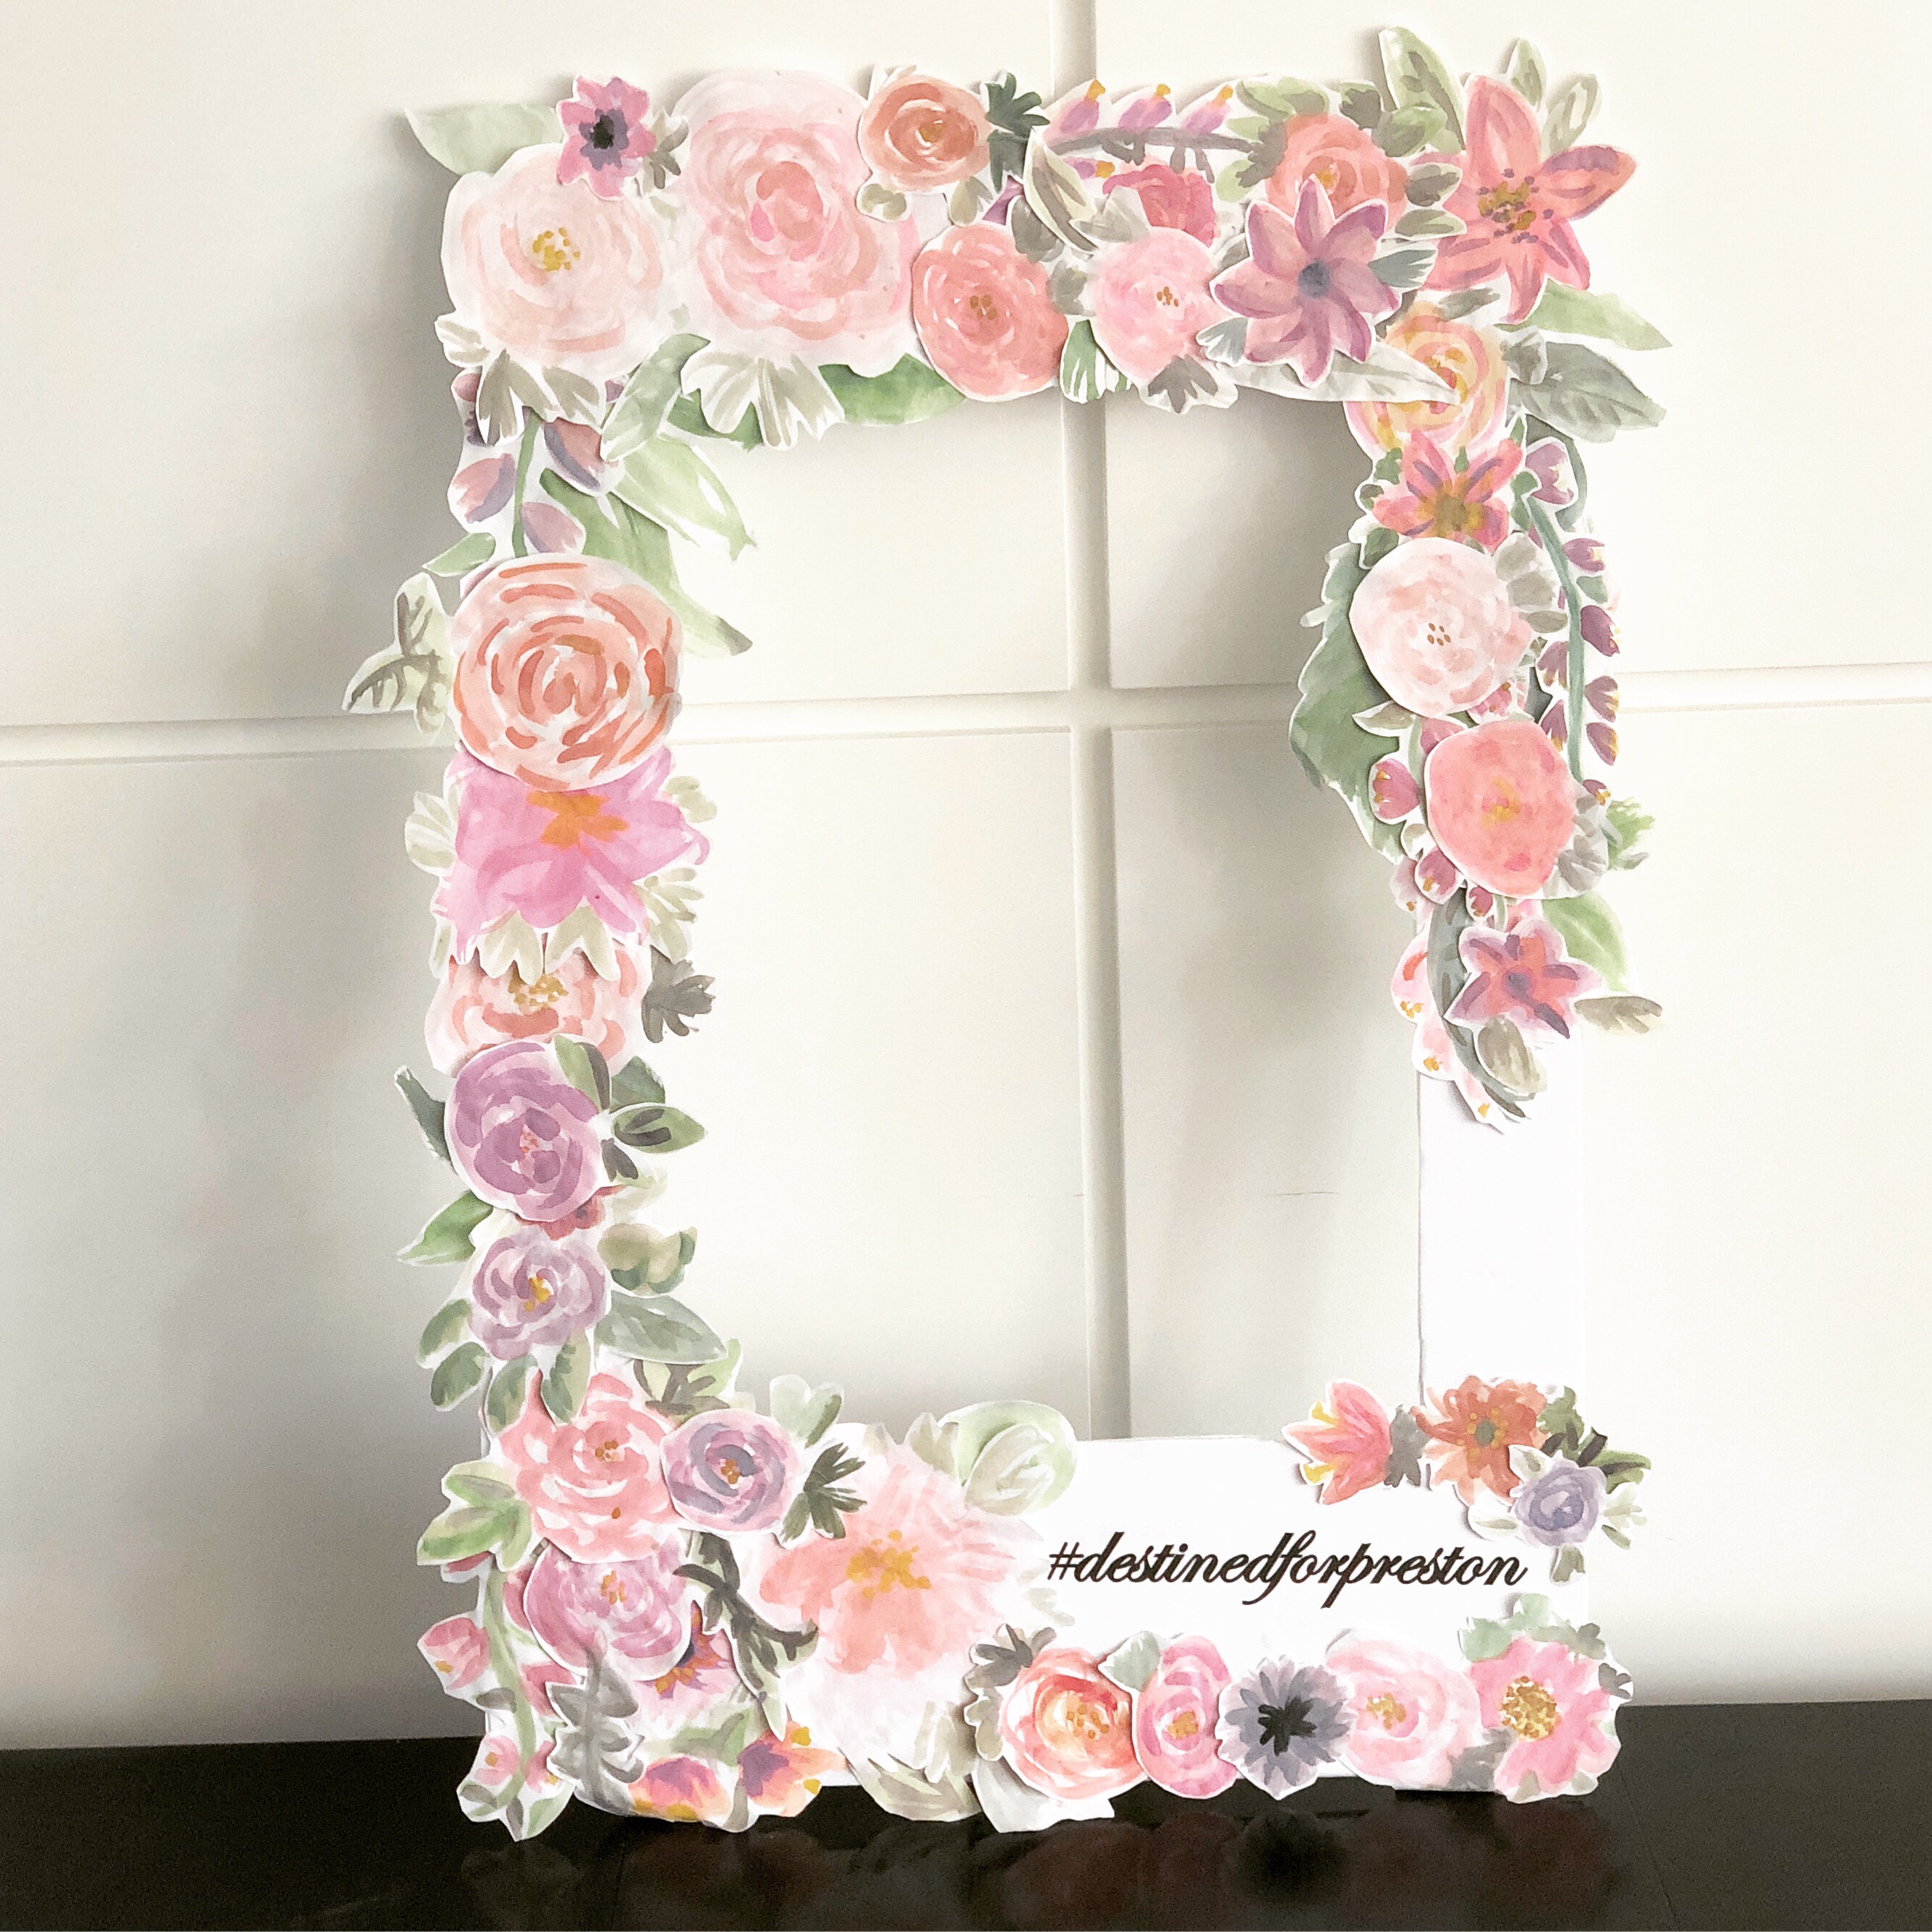
It’s my cousin’s stagette this weekend and I am hosting the cocktail hour so I wanted to create some decor to add to our theme. The theme is boho chic, and florals and flowy outfits are the inspiration. I have a additional decor item up my sleeve but I wanted to tie in the florals without spending too much on a lot of flowers, as we will only be spending a short time in my home. Maybe a photo prop that I could hang from the ceiling would be fun! We could also take it with us to our next location or it could be used at other wedding events. I decided since her invitations had these lovely pink floral watercolor on it I would use that as my inspiration. This project takes about two hours to do, but I think it is absolutely worth it! It would be fantastic for a baby girl shower, wedding shower or girl’s birthday party.

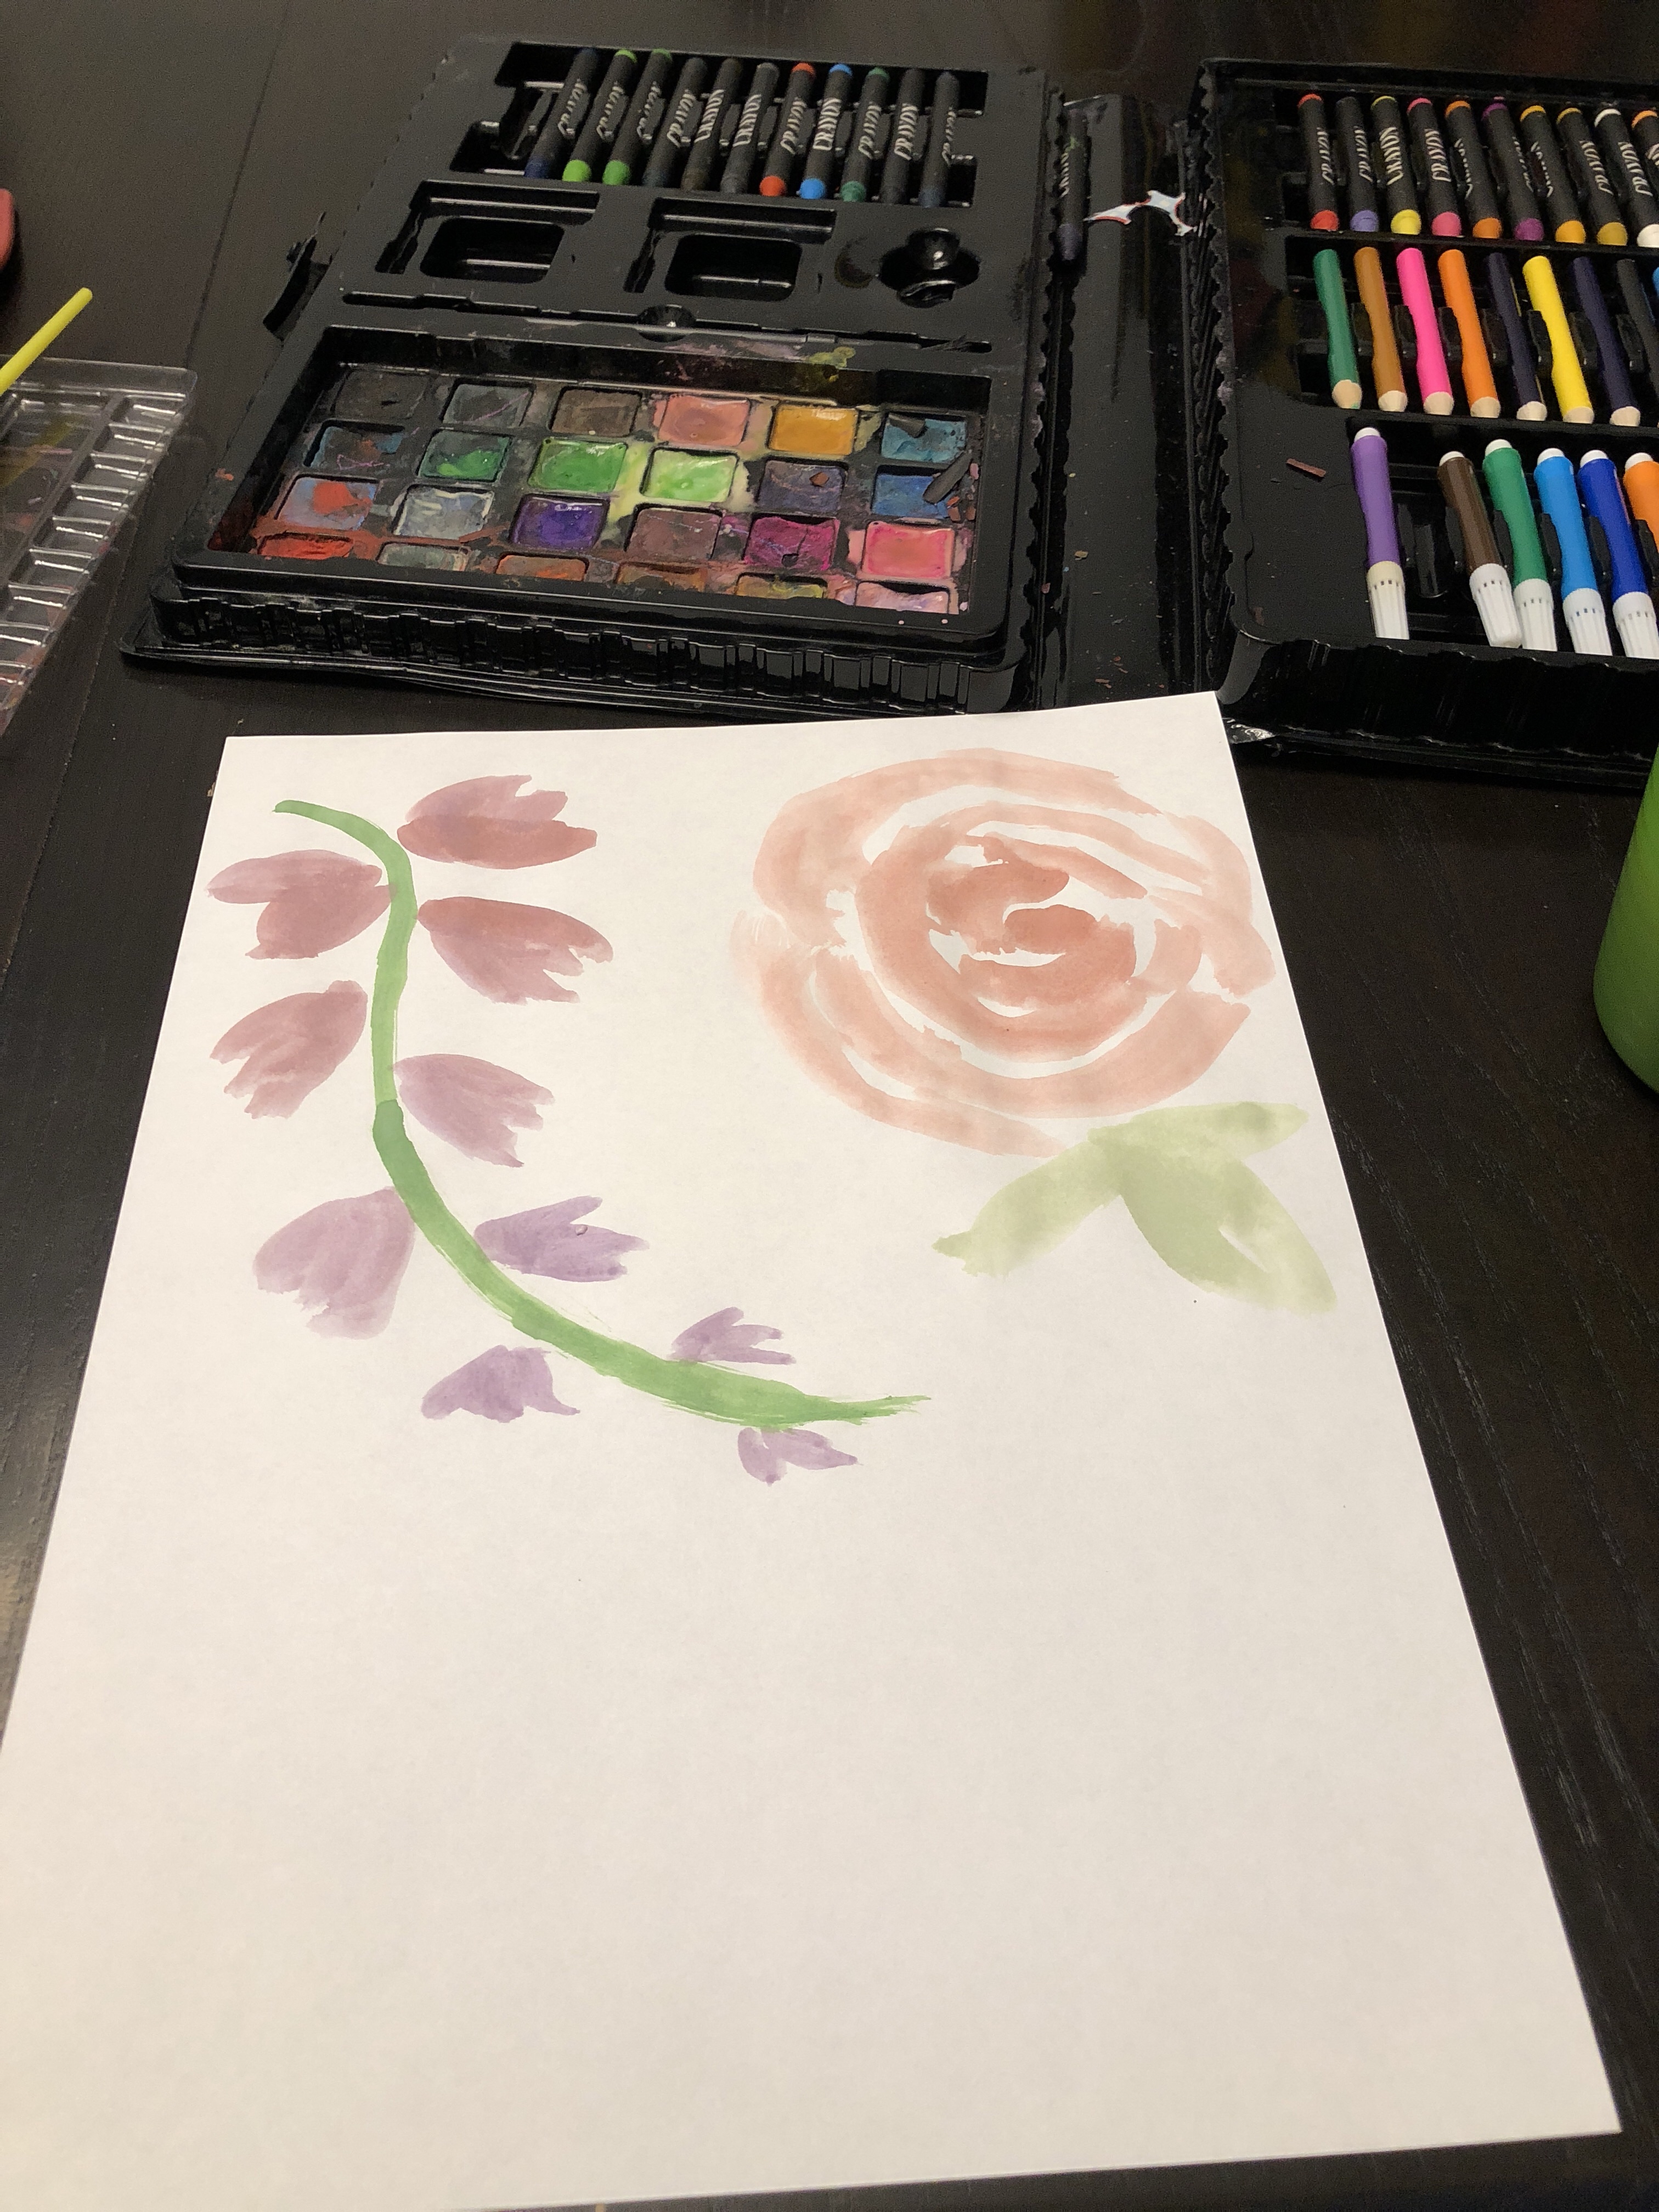
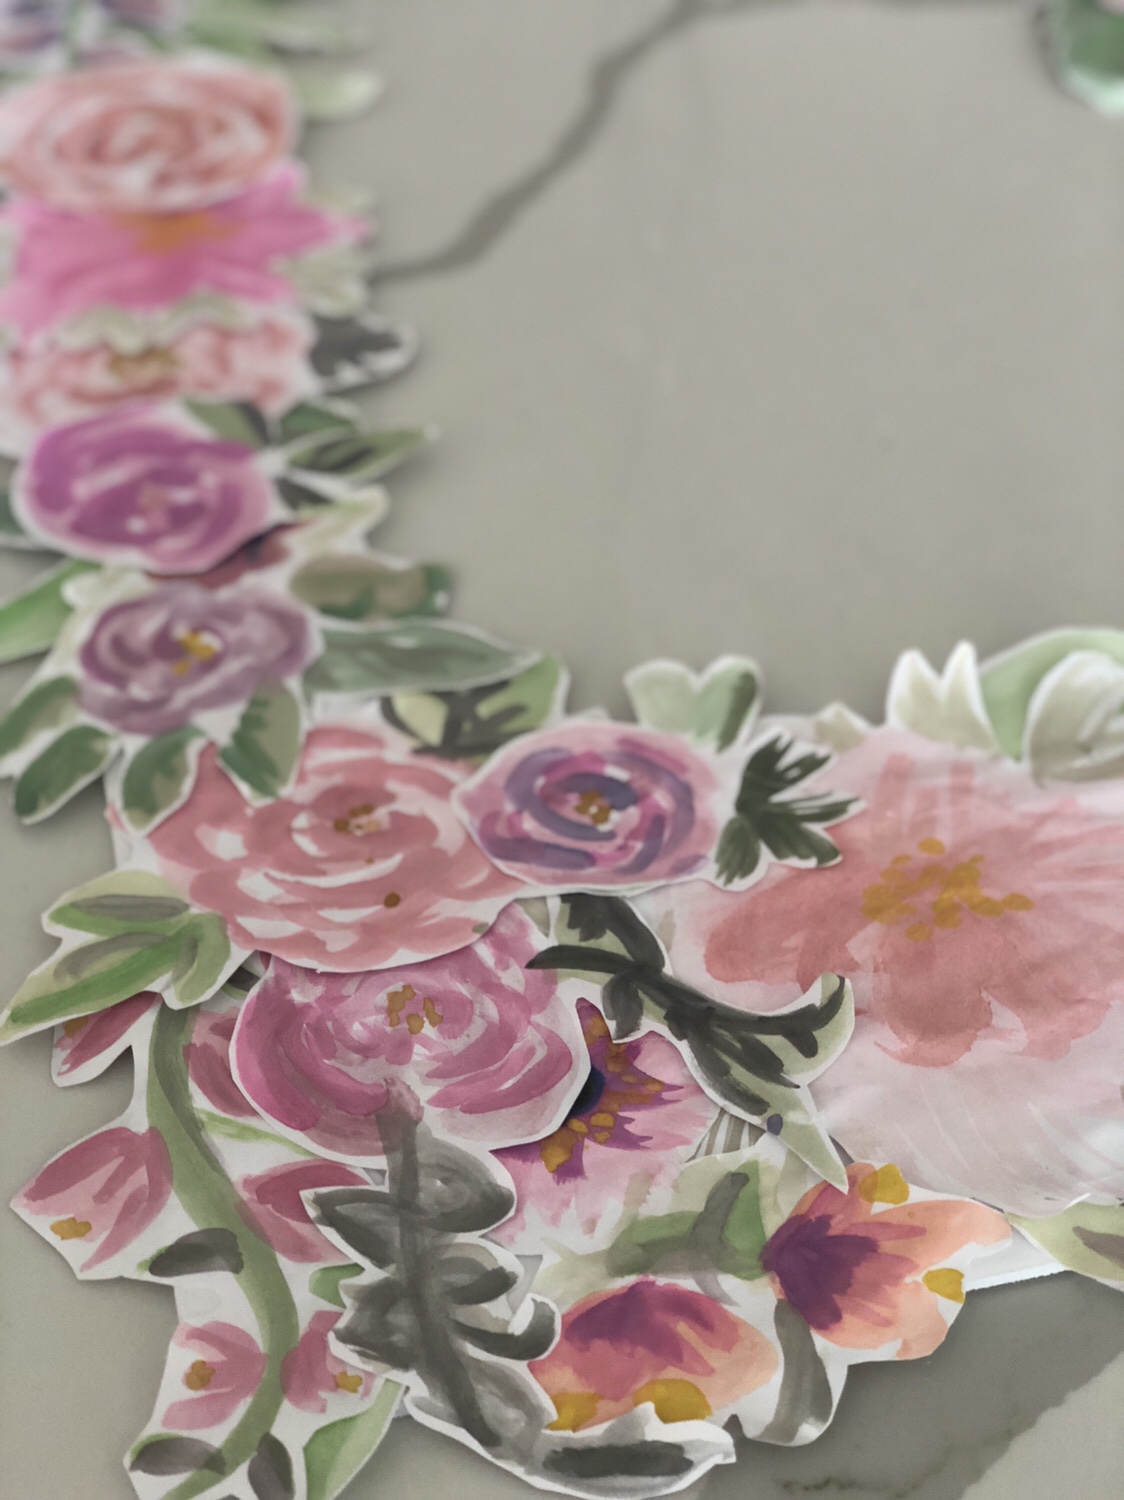
So I haven’t painted since elementary school but I thought I’d watch some YouTube videos and try my hand at it. This is the video I watched. I knew I wanted to cut out the flowers so they could be layered. My kids had watercolour paint and some brushes they play with and so I thought I’d try with that first. I only had computer paper so that is what I used. I think the key with my bad paper and paint is to start with one color, let it dry and then layer to create the desired effect. Better paint and cardstock paper would have made this easier and look better but considering I had all the supplies on hand I am super happy with how it turned out! Overall I painted ten pages, two of them were just greenery, which I would highly recommend because it was great to add a leaf or two to cover any holes. Let the painting dry for several hours or overnight, until dry and hard. If they are damp it will be very difficult to cut out.
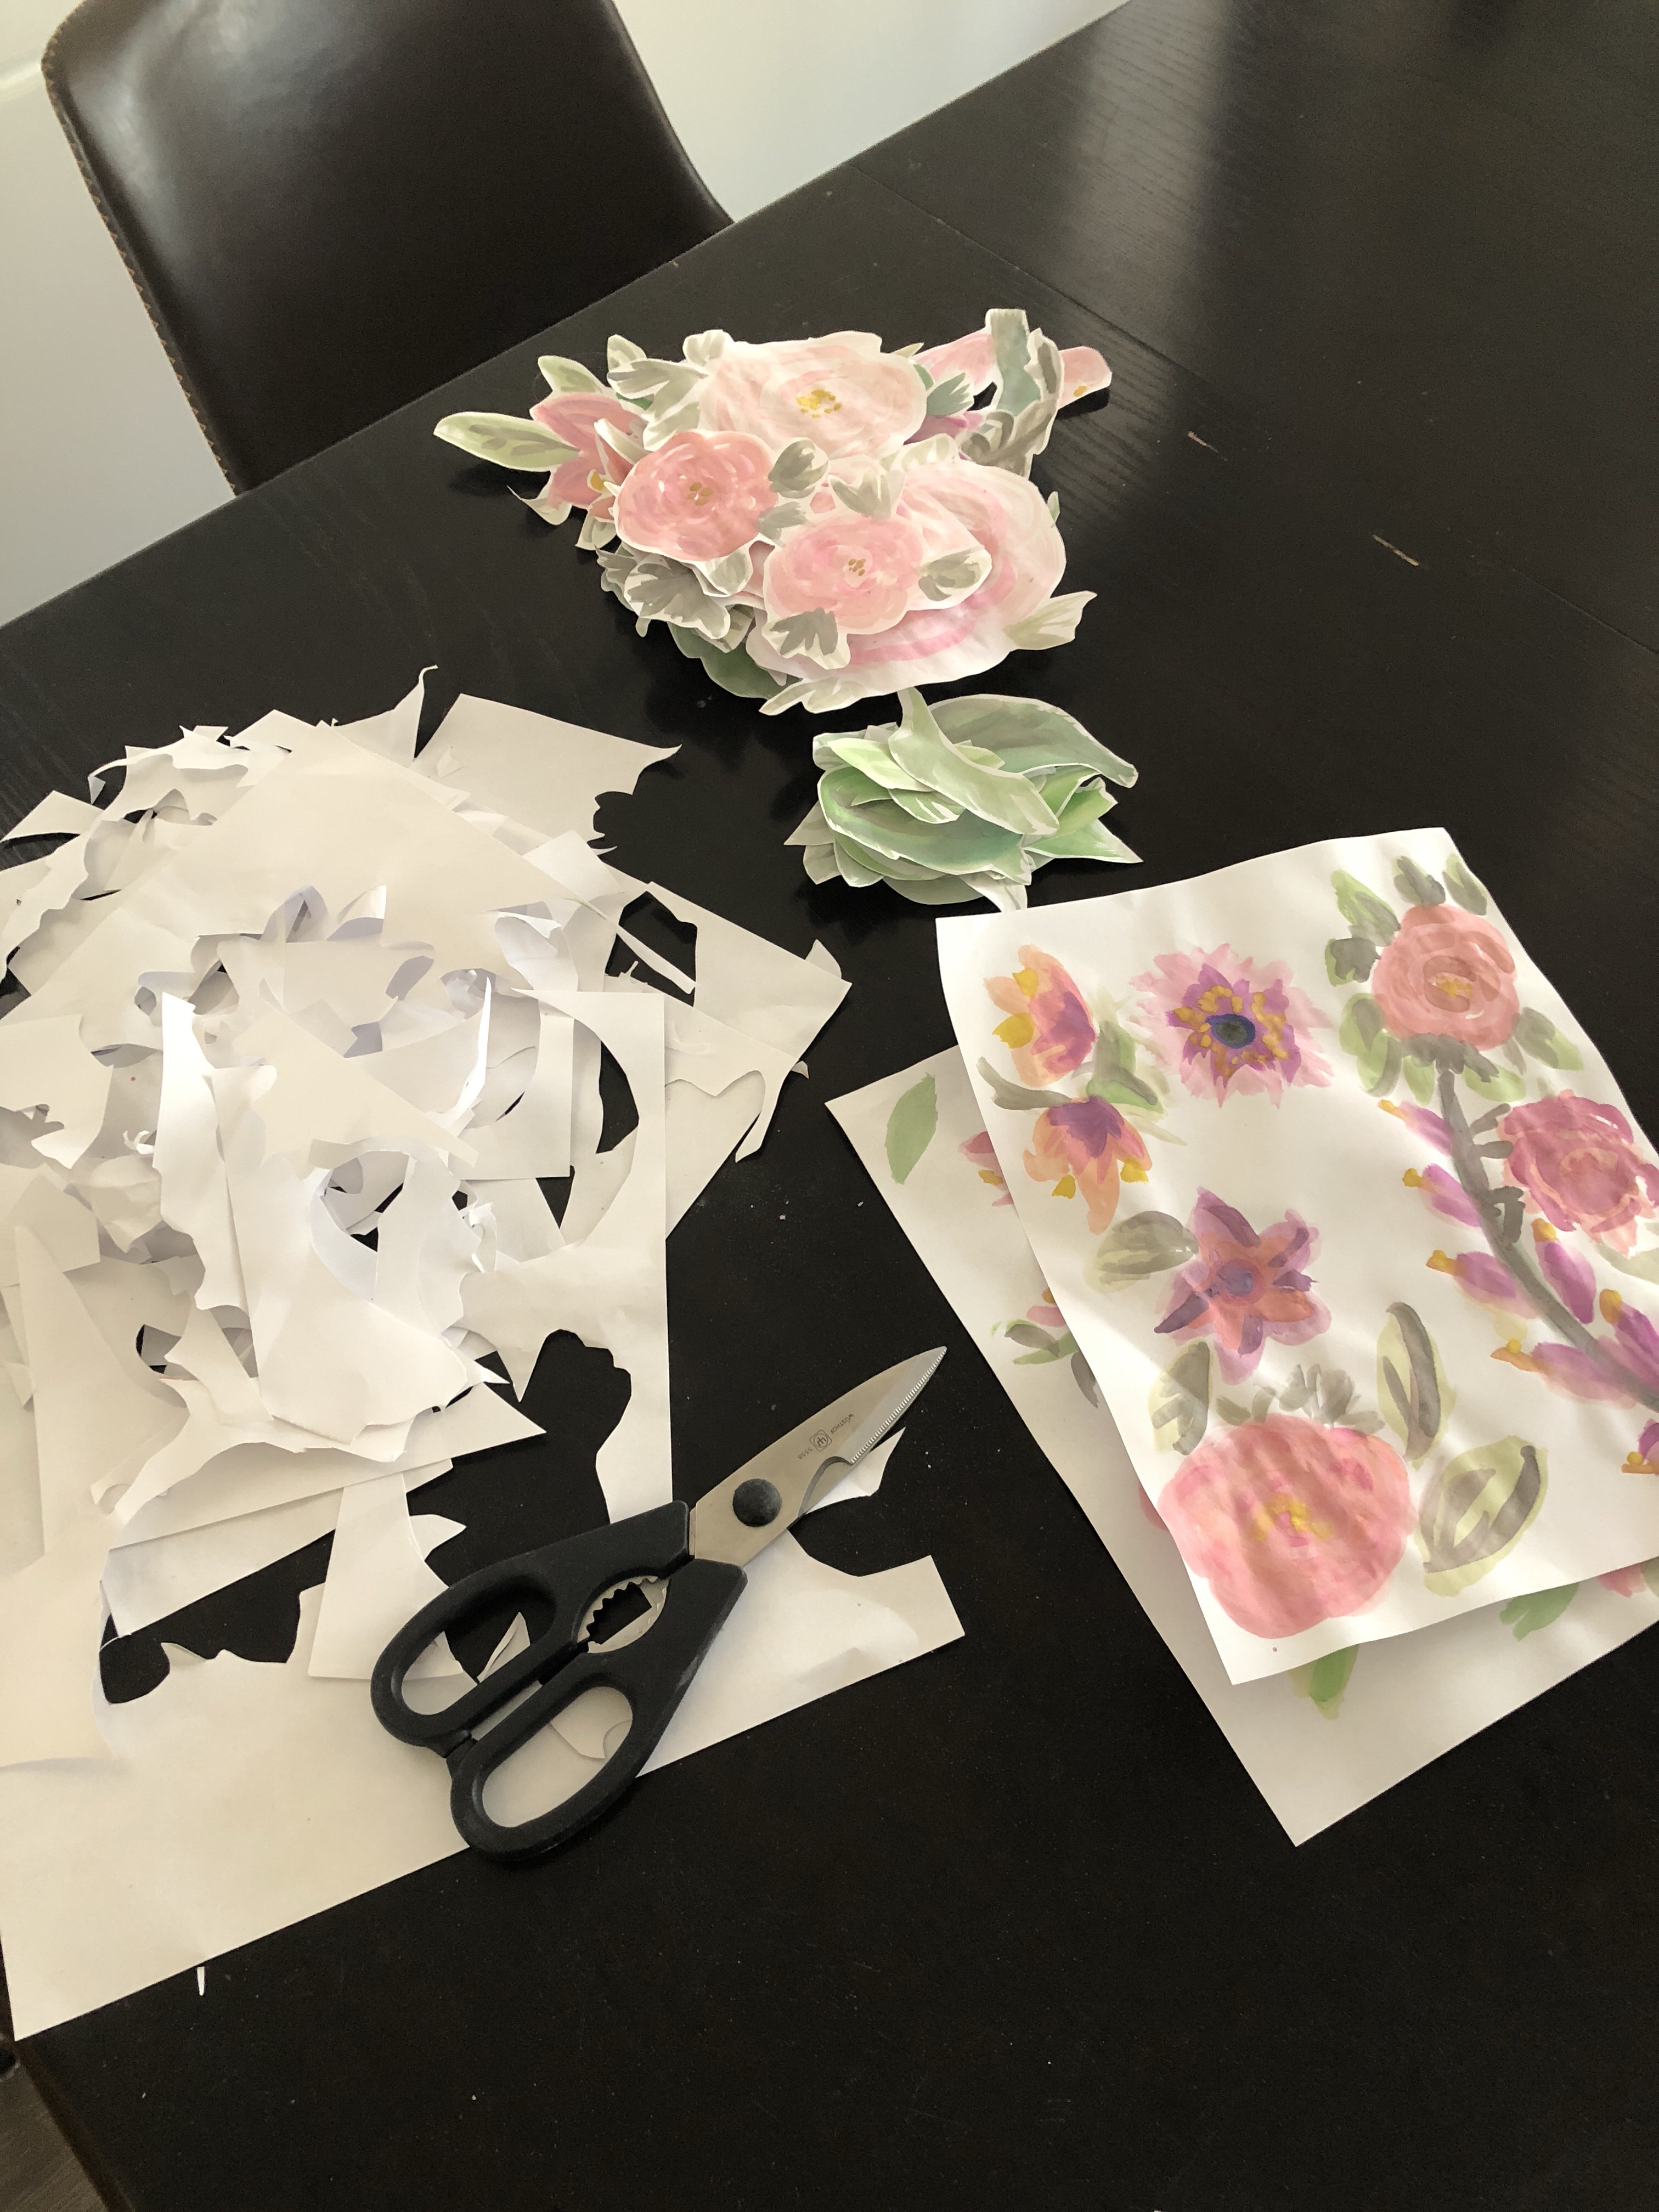
After the flowers and greenery are dry, cut around them. I left a small amount of white because I love the natural edges of watercolor and preferred the handmade look. Get your foam board and cut as desired. I used a ruler and utility knife and made each side 3″ wide, the top 7″ and the bottom 8″. I quilt, so I used my quilting rulers and mat. You could also use scissors. Remember it’s better to mark the back as then any mistakes won’t show on the front.
I wanted to have my cousin’s wedding hashtag on the frame but it is totally not necessary. I printed it off on my computer next. Then I laid out the hashtag and flowers and got a sense for where things would fit best. I left a small area on the side so you could hold the frame without crushing the flowers. Then you glue! I worked on each quarter or so at a time. Removing what I had laid out then gluing it on starting at the back. I used hot glue but a glue stick or white paste would work as well. I’m hoping the hot glue will hold up through the abuse of 12 intoxicated women!
The bride will be delighted with how this turned out I am sure and I was frankly amazed it turned out so well. Trust me if I can do it, anyone can! 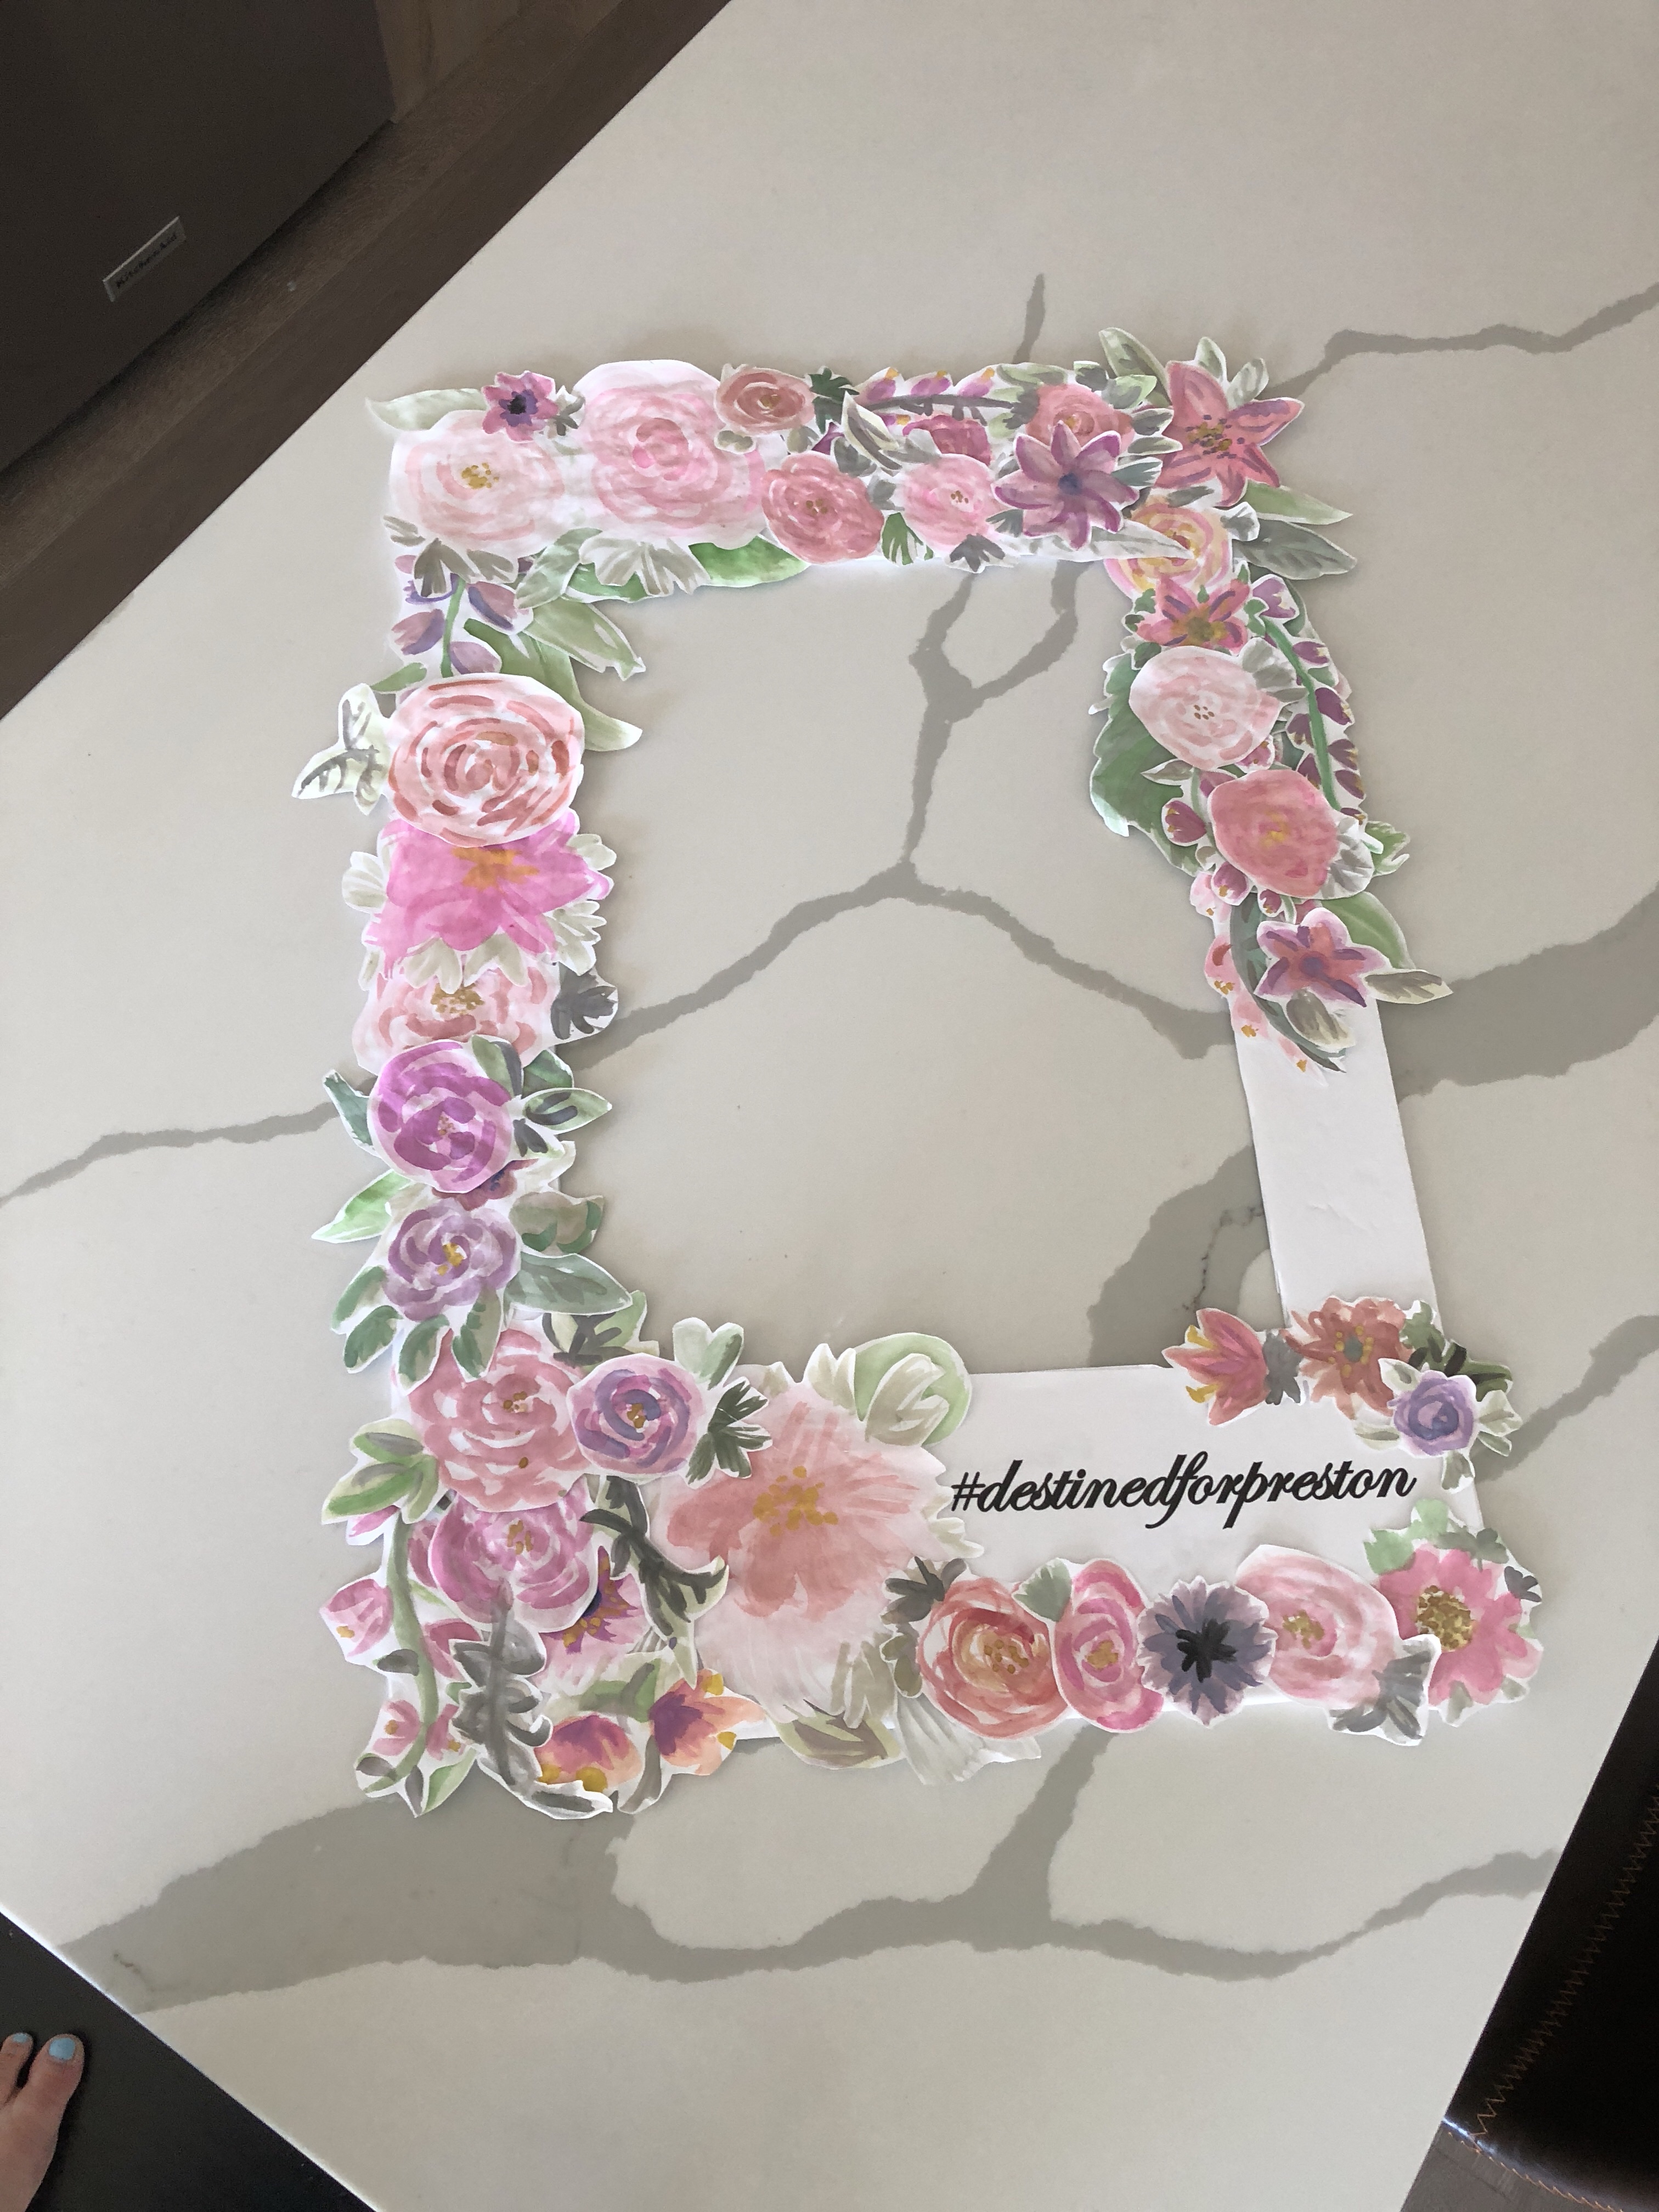
How to make a DIY Watercolor Floral Photo Prop
Supplies
- 10-15 sheets of paper (I used computer paper)
- 1 foam core board
- Watercolor paints
- Brushes
- Scissors
- Glue (I used hot glue but any would do)
- Ruler
- I used a mat and ultimatum knife to cut the foam board but scissors would work great as well.
Paint the water color flowers and greenery. It should be enough to cover 10 pages of paper.
After flowers and greenery are dry, cut around the shapes.
Cut foam core board down to preferred size. Mine was three inches wide on each side, seven on the top and 8 on the bottom.
Print off any words you’d like to add and glue to foam board.
Lay out the flowers to get a sense of where you’d like them. Remove about a quarter at a time and glue down to secure, until completed. Fill in any holes with leaves and greenery.

Jess
Recent Comments