Yarn Wall Hanging
My friend Dawn had this amazing wall hanging in her house. It was in her room right when you entered and I loved it from first sight. “Where did you get that?” She replied, “I made it!” I assumed it was something I couldn’t ever make, but today we made one together and I LOVE it!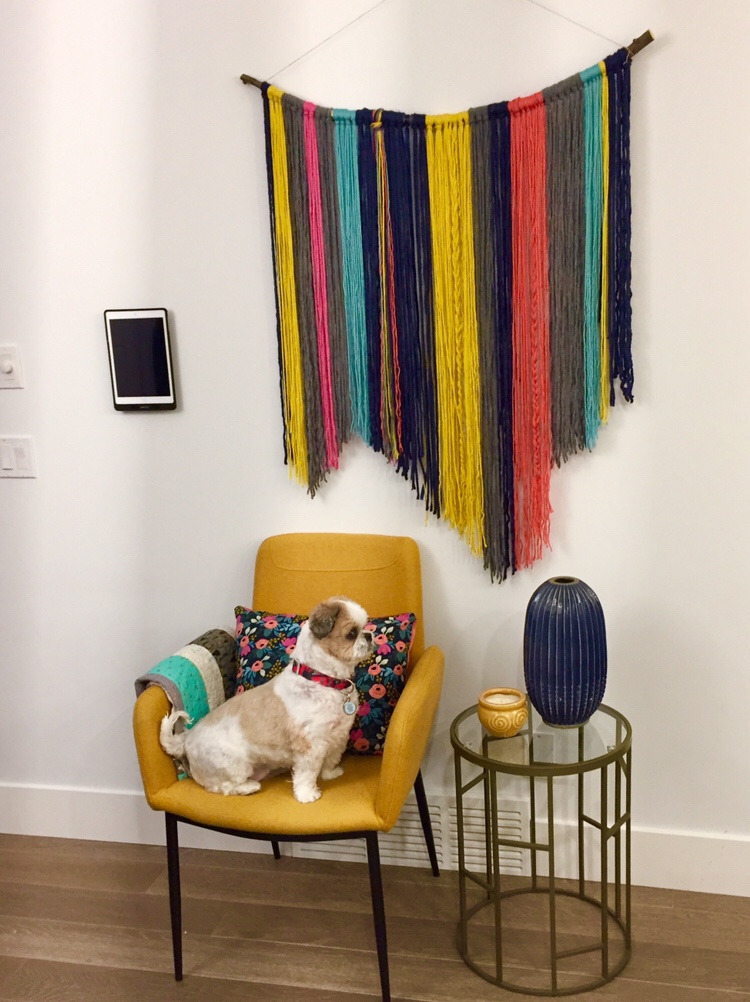
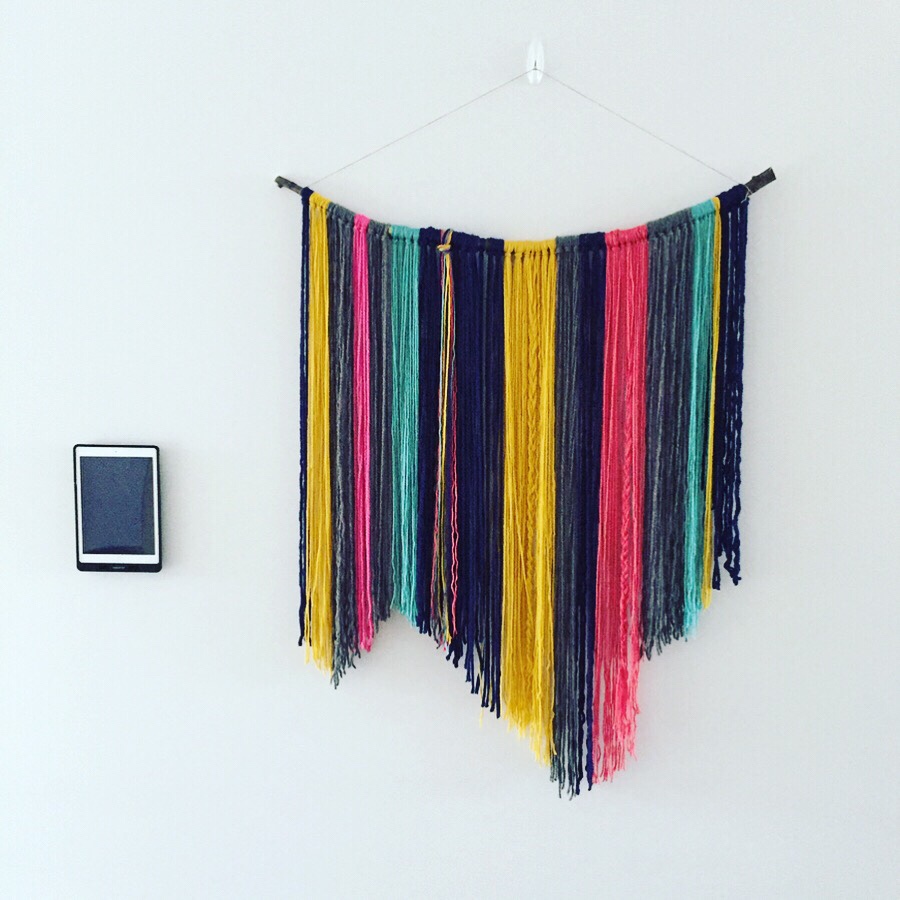
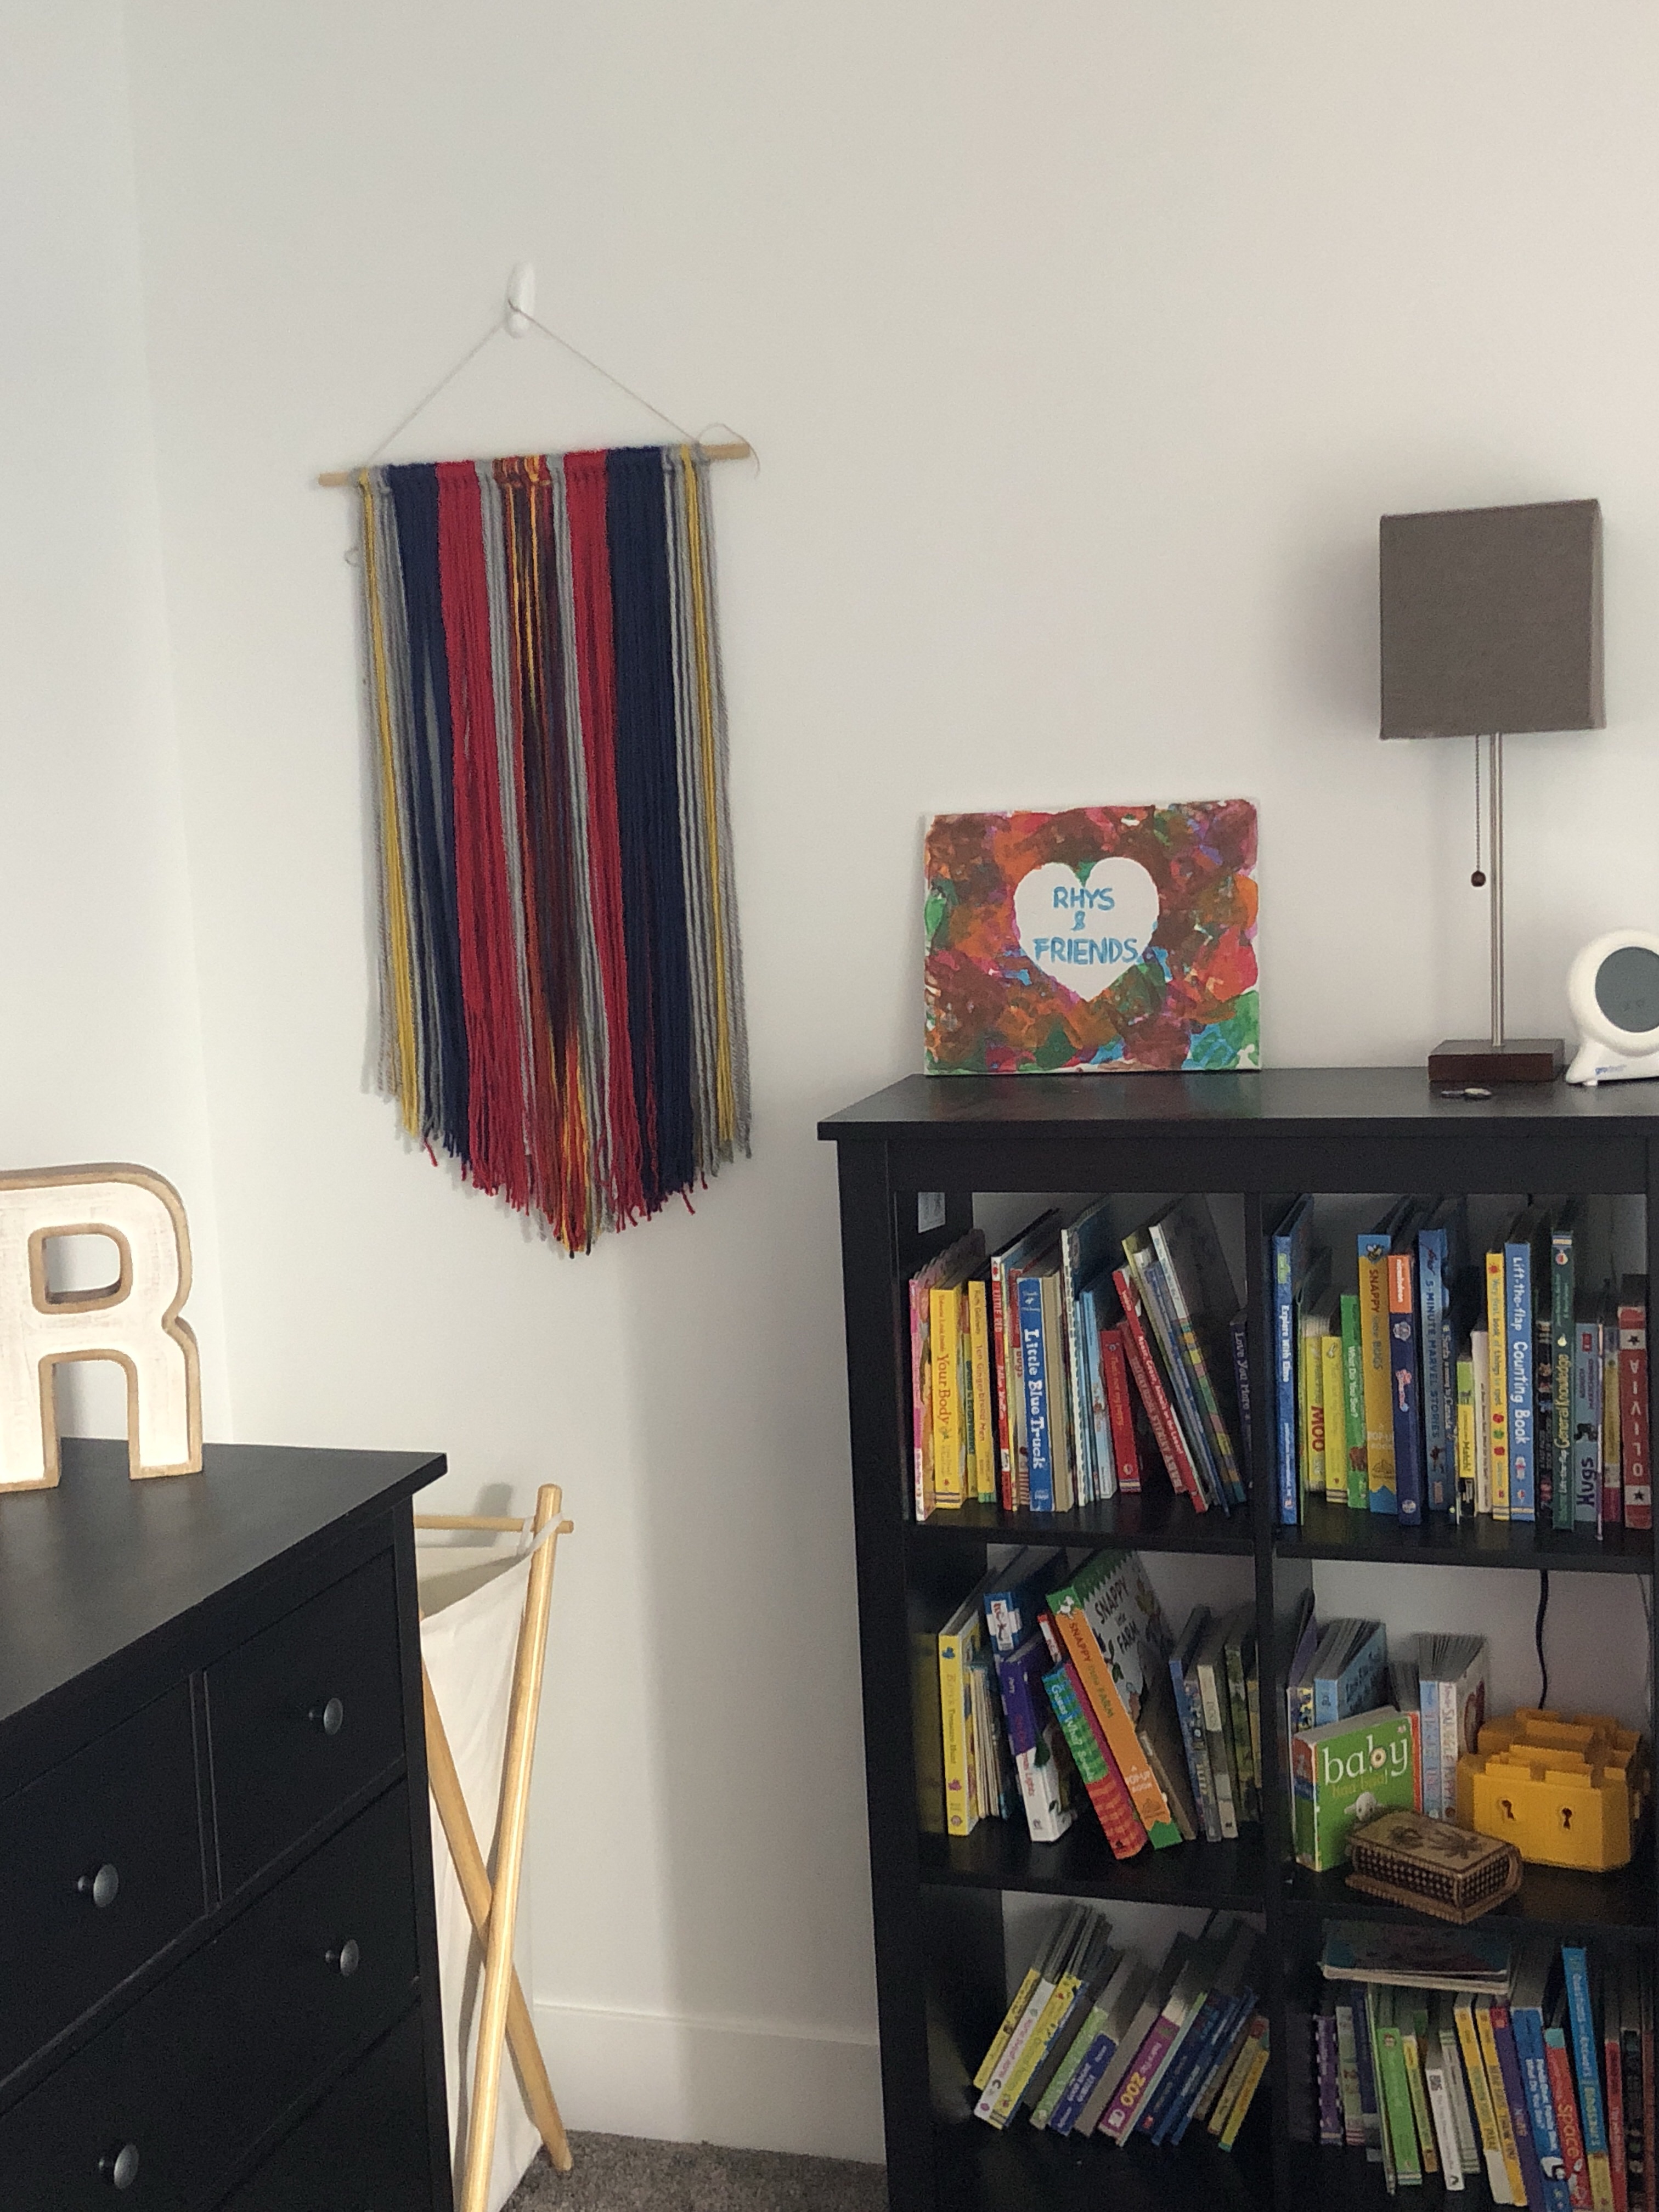
In our old home this would have looked way too rustic and modern, but we moved to a modern house and the all-white-everything craves a bright pop of colour and injection of texture. I made a curtain and some pillows last week using the perfect Cotton and Steel fabric designed by the Rifle Paper Co. The colours from the fabric inspired the colour selection in my yarn. 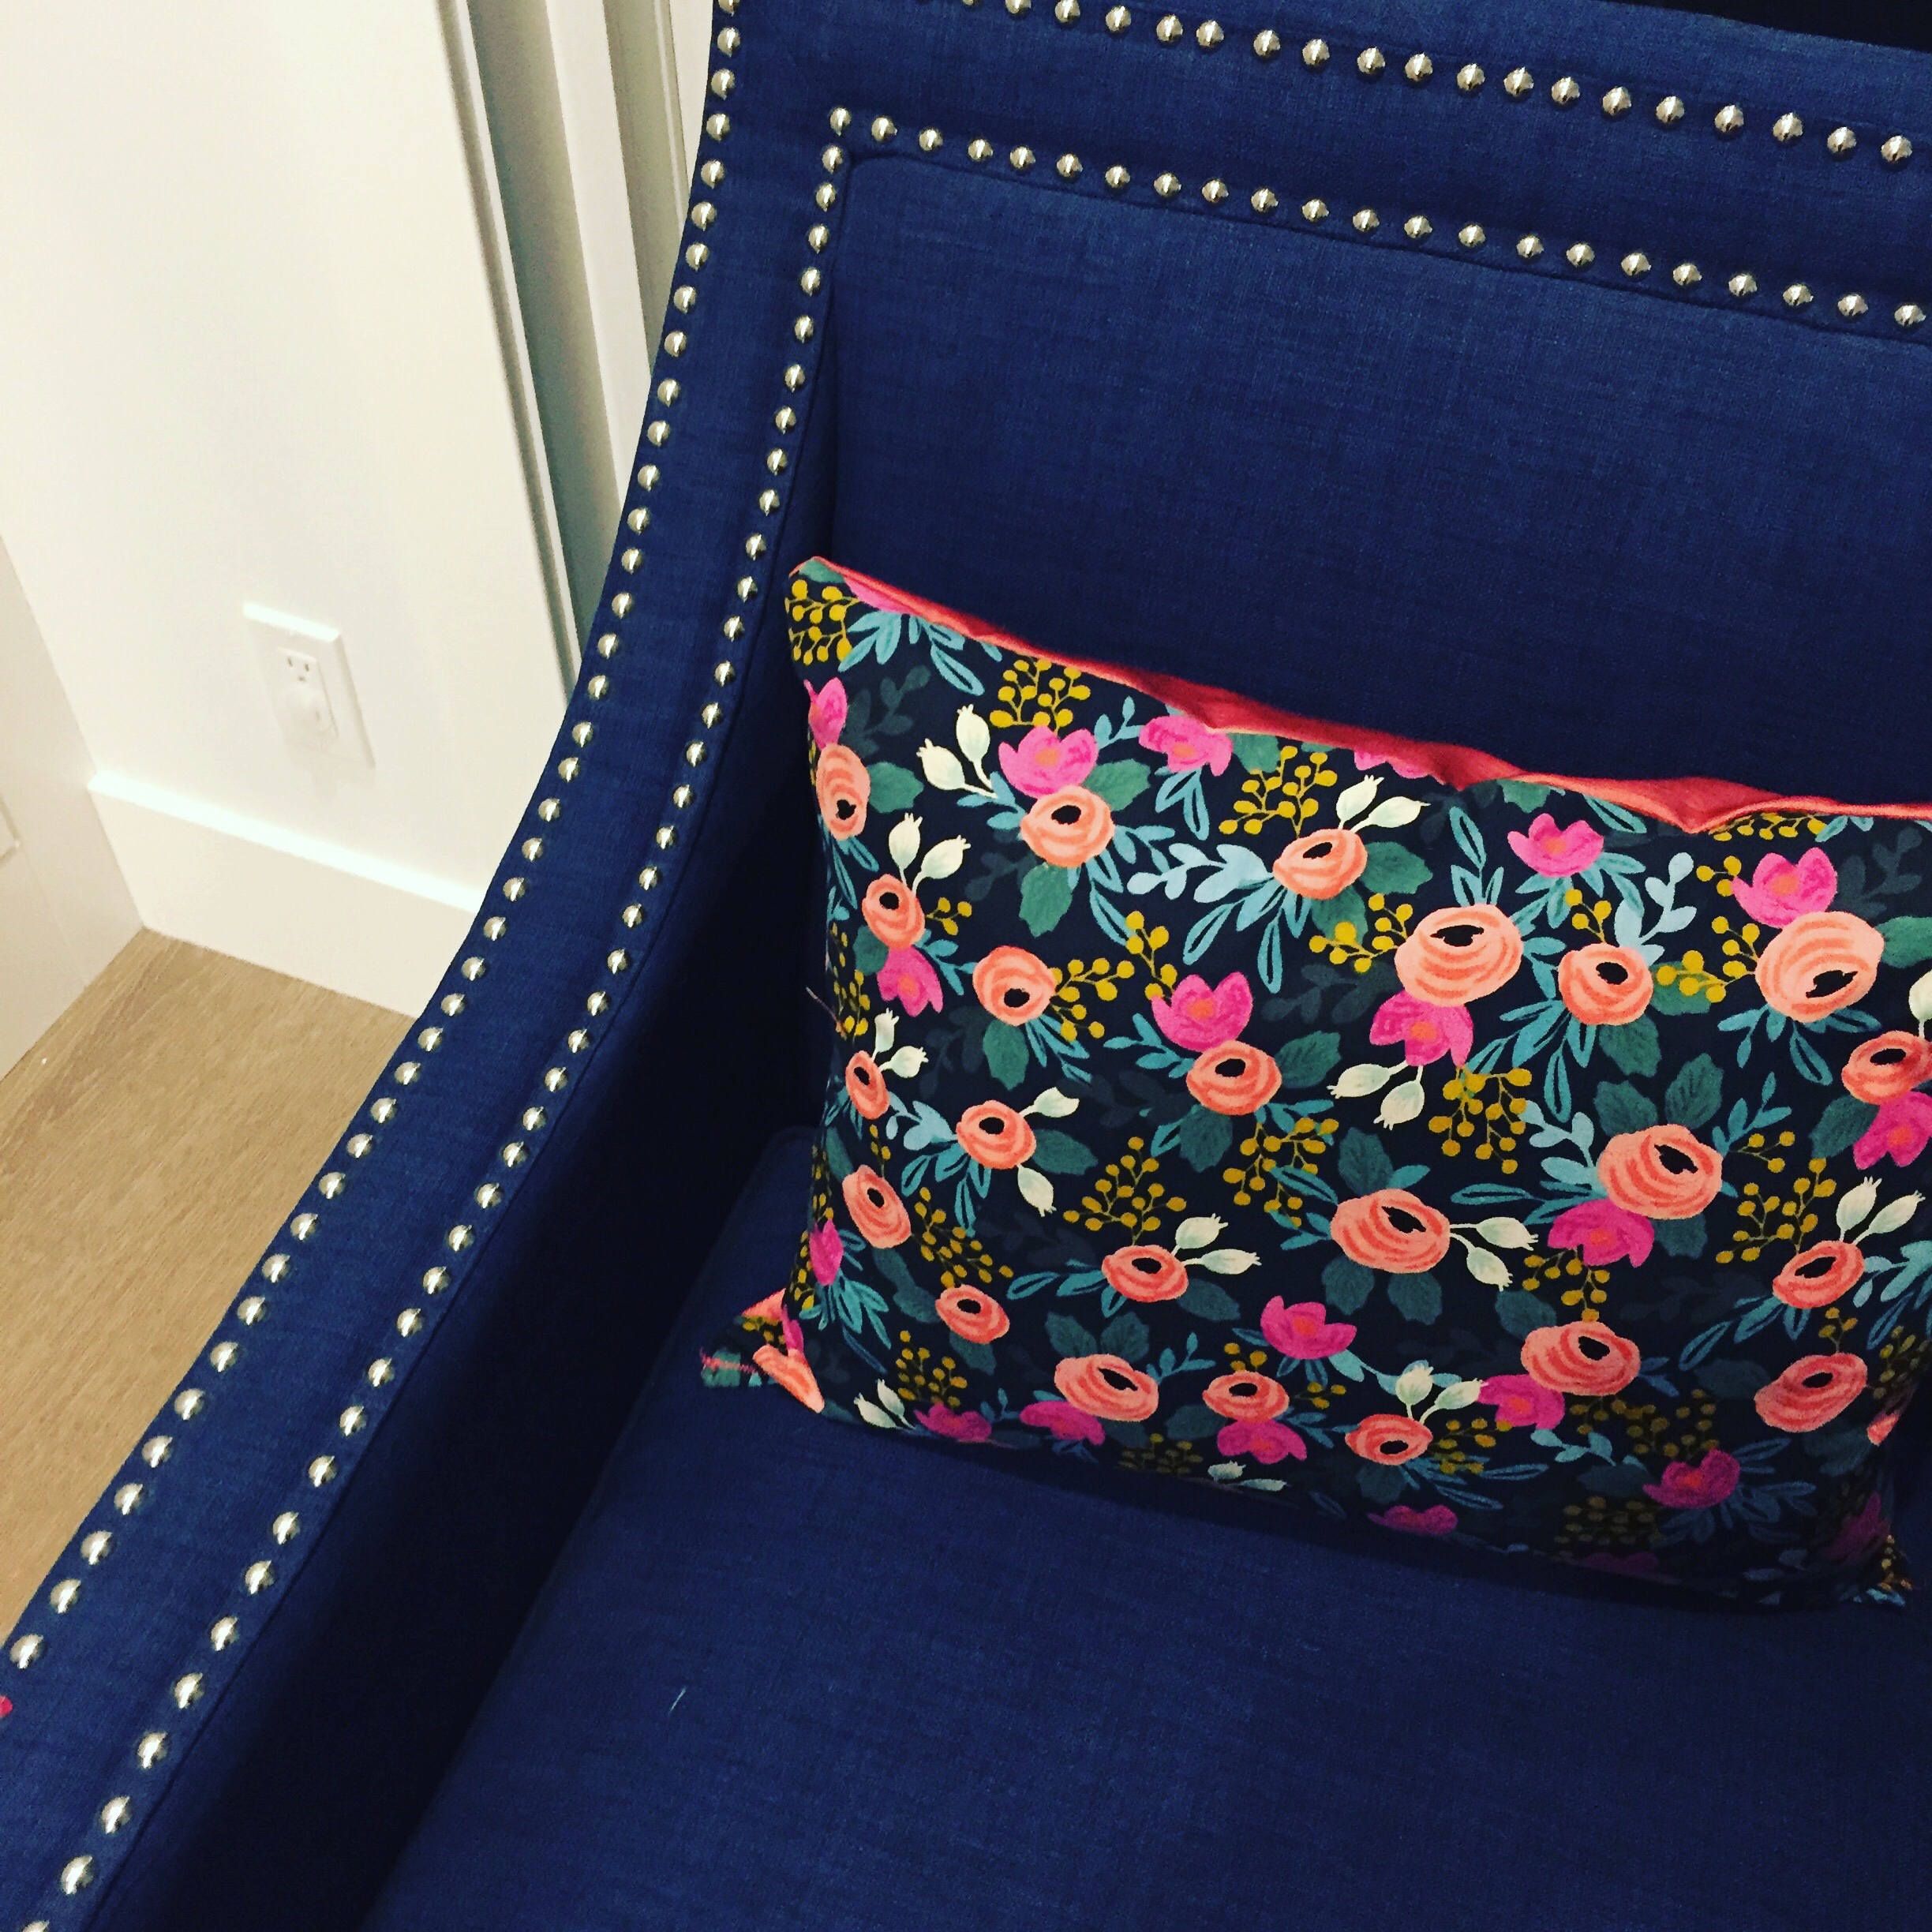
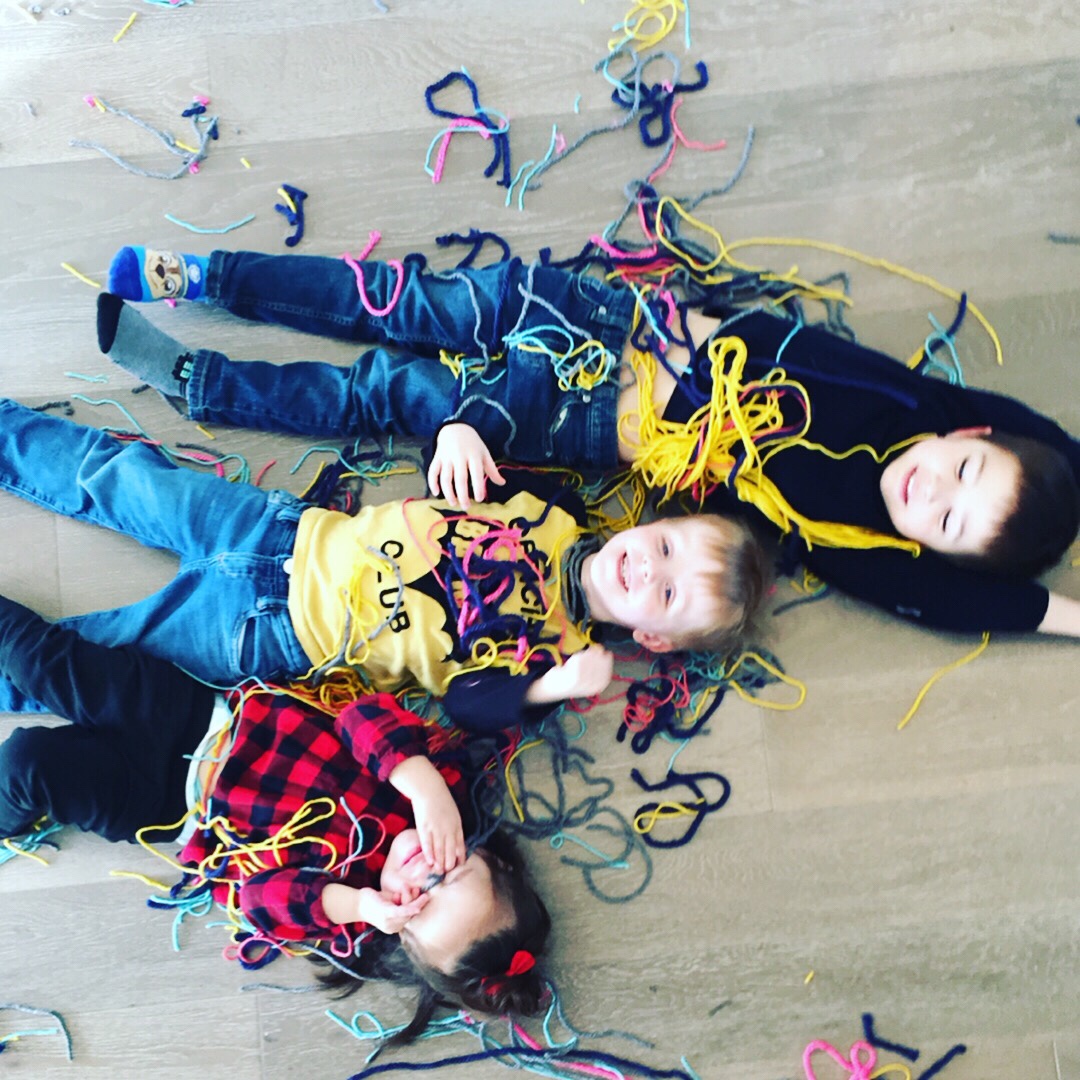
It took my friend and I about two hours to make, but we were also minding our toddlers so there were a lot of interruptions. I spent about 25 dollars on the yarns of varied texture and colour from Walmart. I was very impressed with their selection! I made this on a stick I found on the playground of my son’s preschool that is in our Community Center. It’s one of our favourite places as a family and close to our hearts, so it’s nice to have a bit of that place in our home- and it was FREE, my favourite price! You could easily use a dowel instead if you prefer a straight line. I will be making one for my daughter’s room using a dowel; I am now obsessed and need to make at least two or three more. 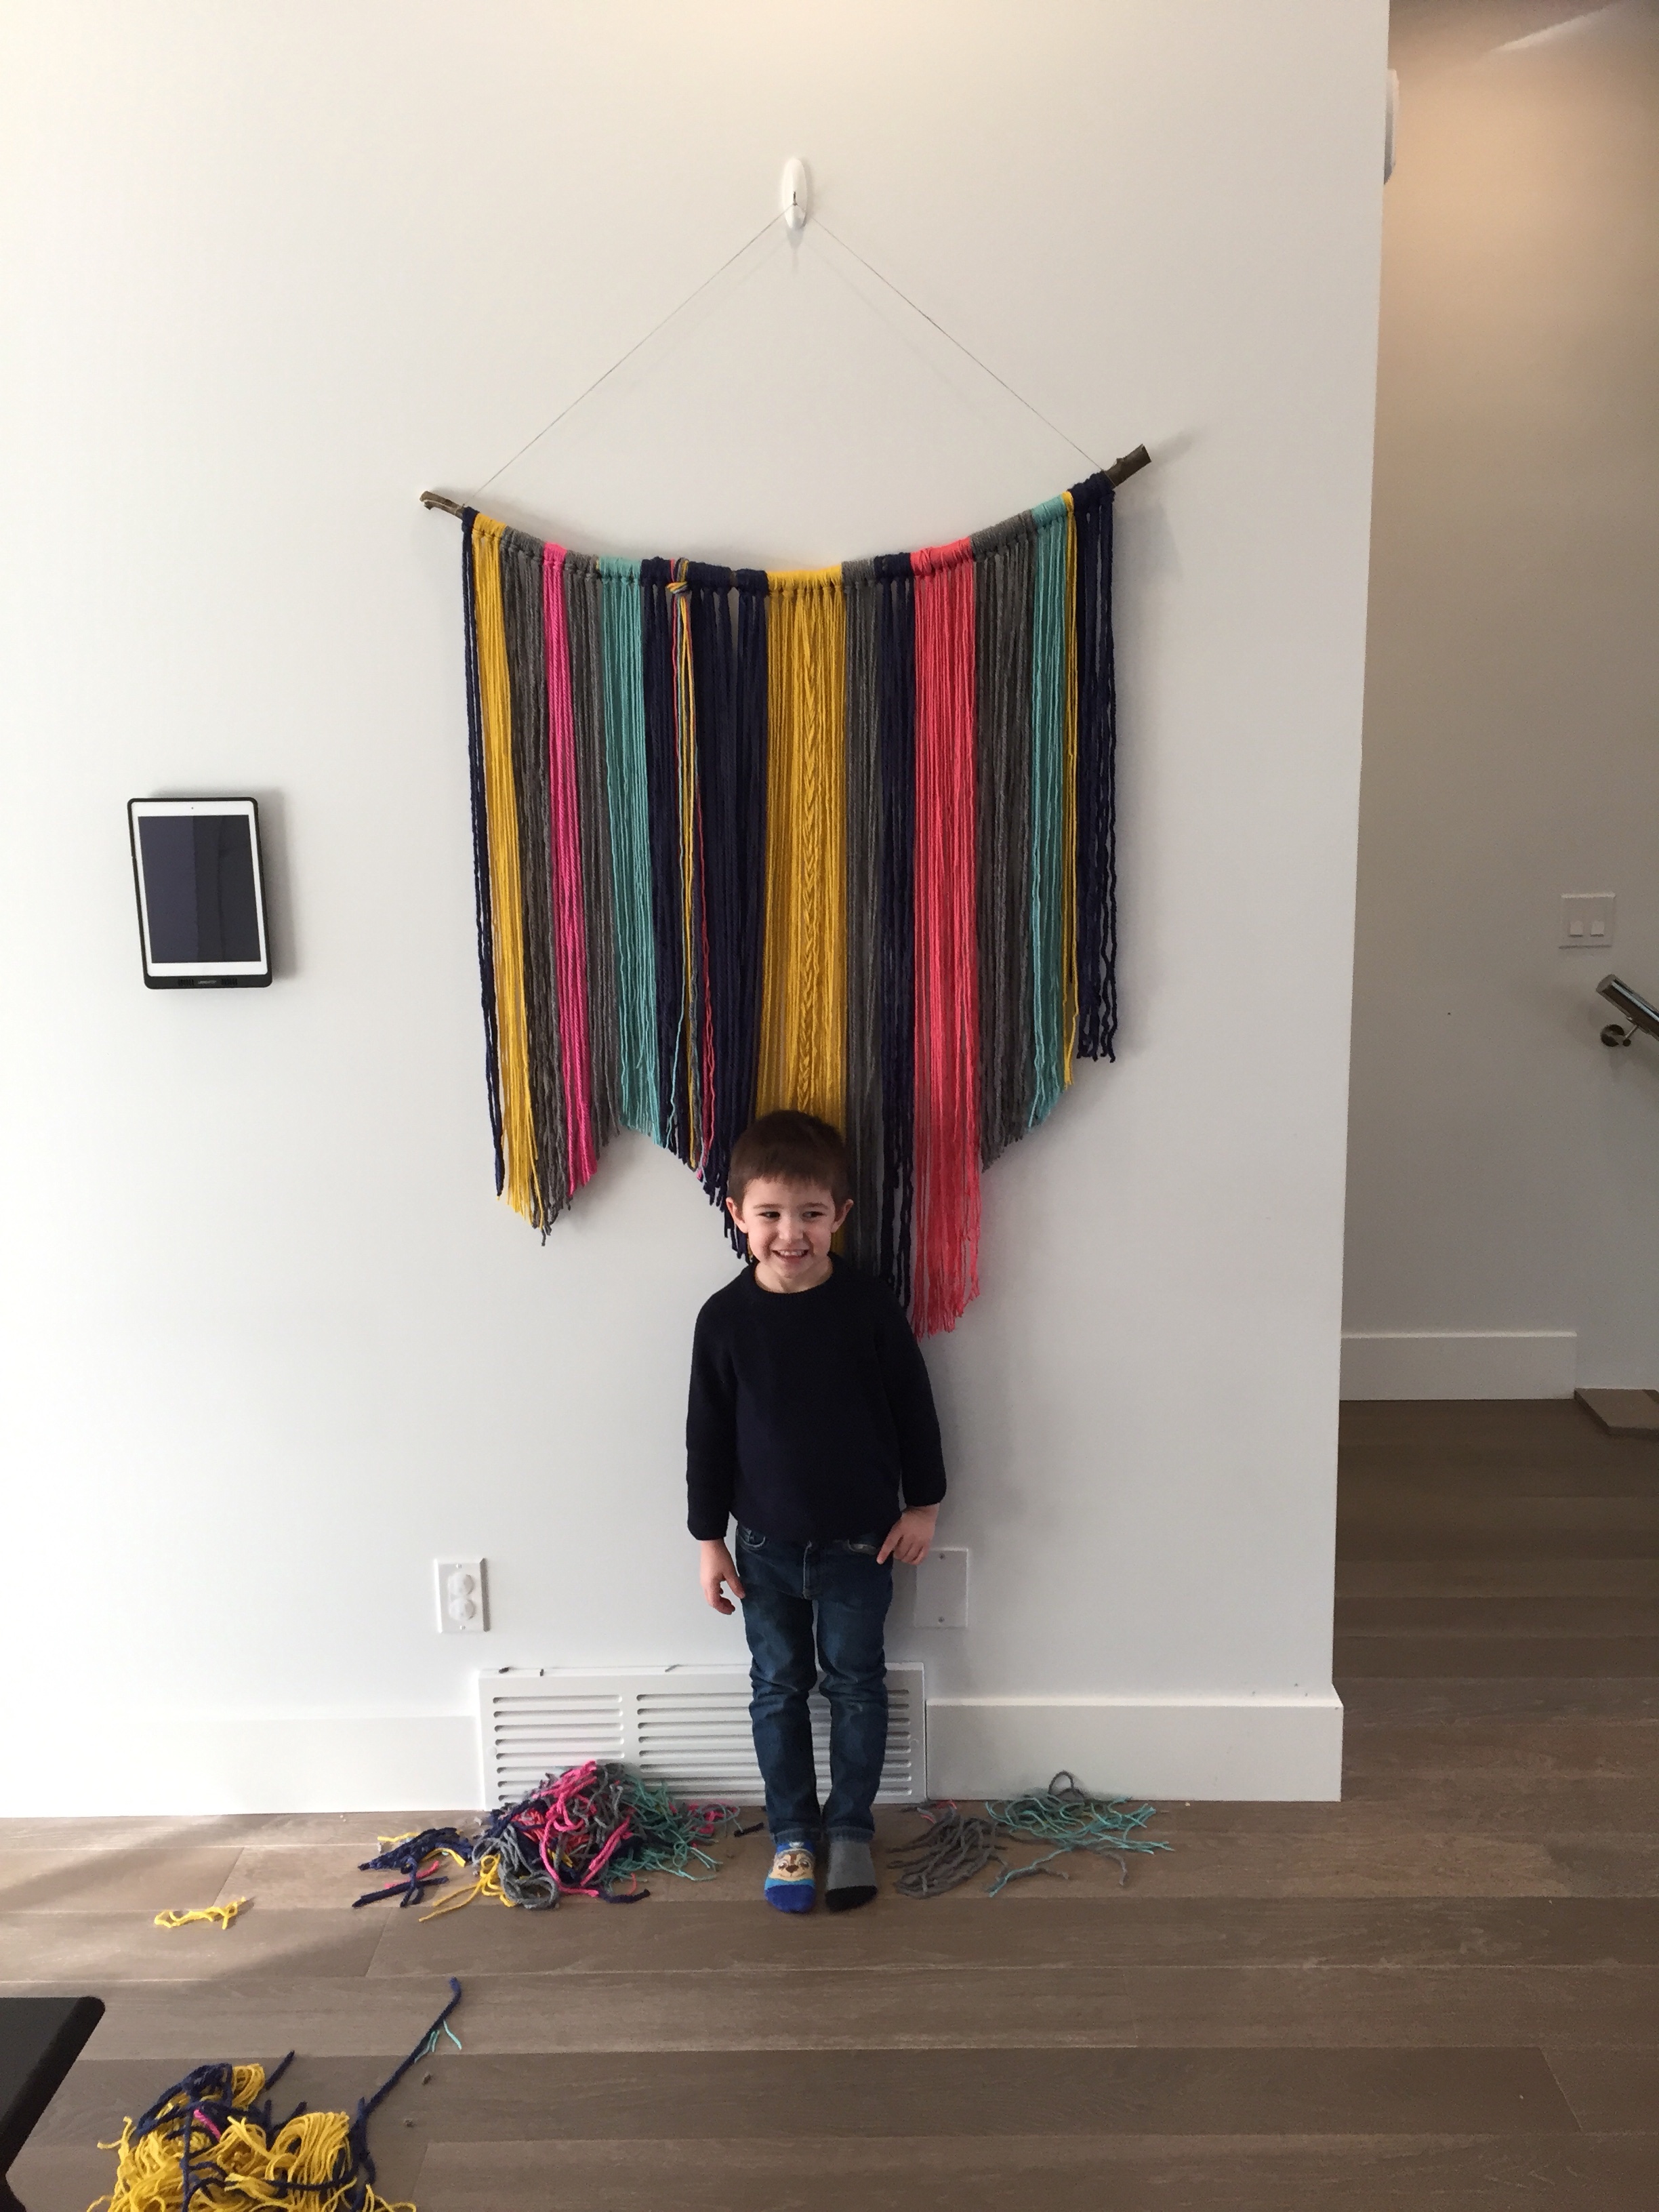
My friend recommended picking a few of the bright colours you’d like to highlight and then start with one of them in the center. I started with the yellow in mine, but also wanted to highlight the coral colour. I recommend hanging the branch as you make this. Leave the yarns long and then cut at the end, once all colours are hung. To hang, take 2-6 strands, depending on the thickness of the yarn, loop the ends through the middle of the yarn and pull snug so a knot is revealed. Mix and match between the different colours and textures until you are happy with the colour distribution. Remember you can always remove a knot and replace it if you’ve gone astray. Remember to mix thin and thicker sections together. You are going for that perfectly unperfect look. Feel free to incorporate ribbons or fabric strand to add more textures.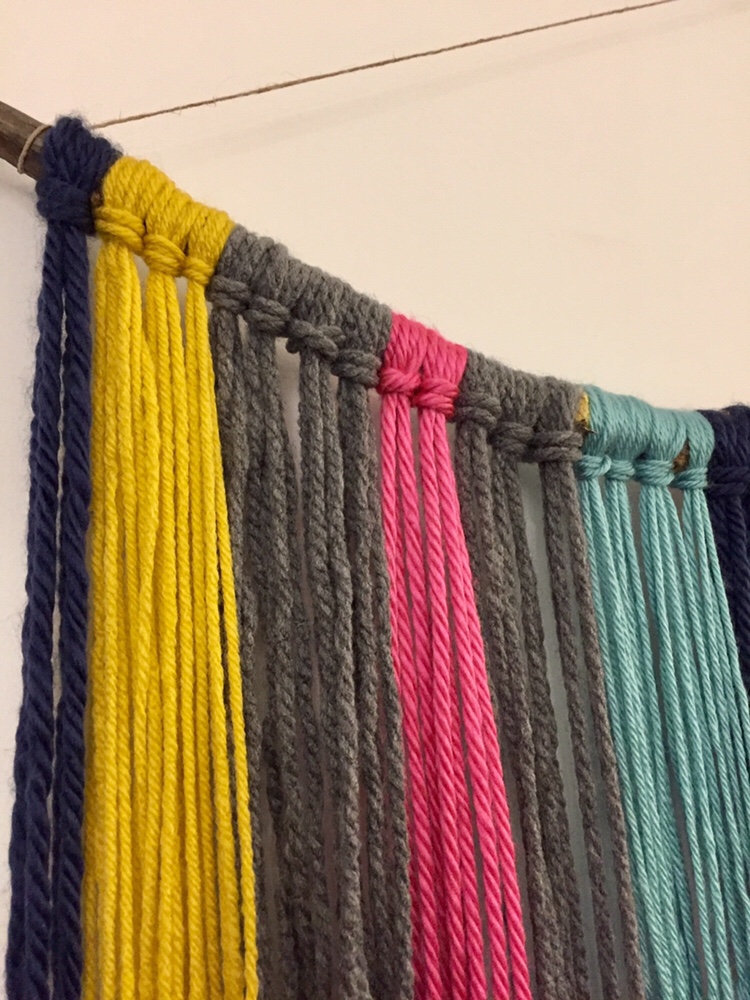
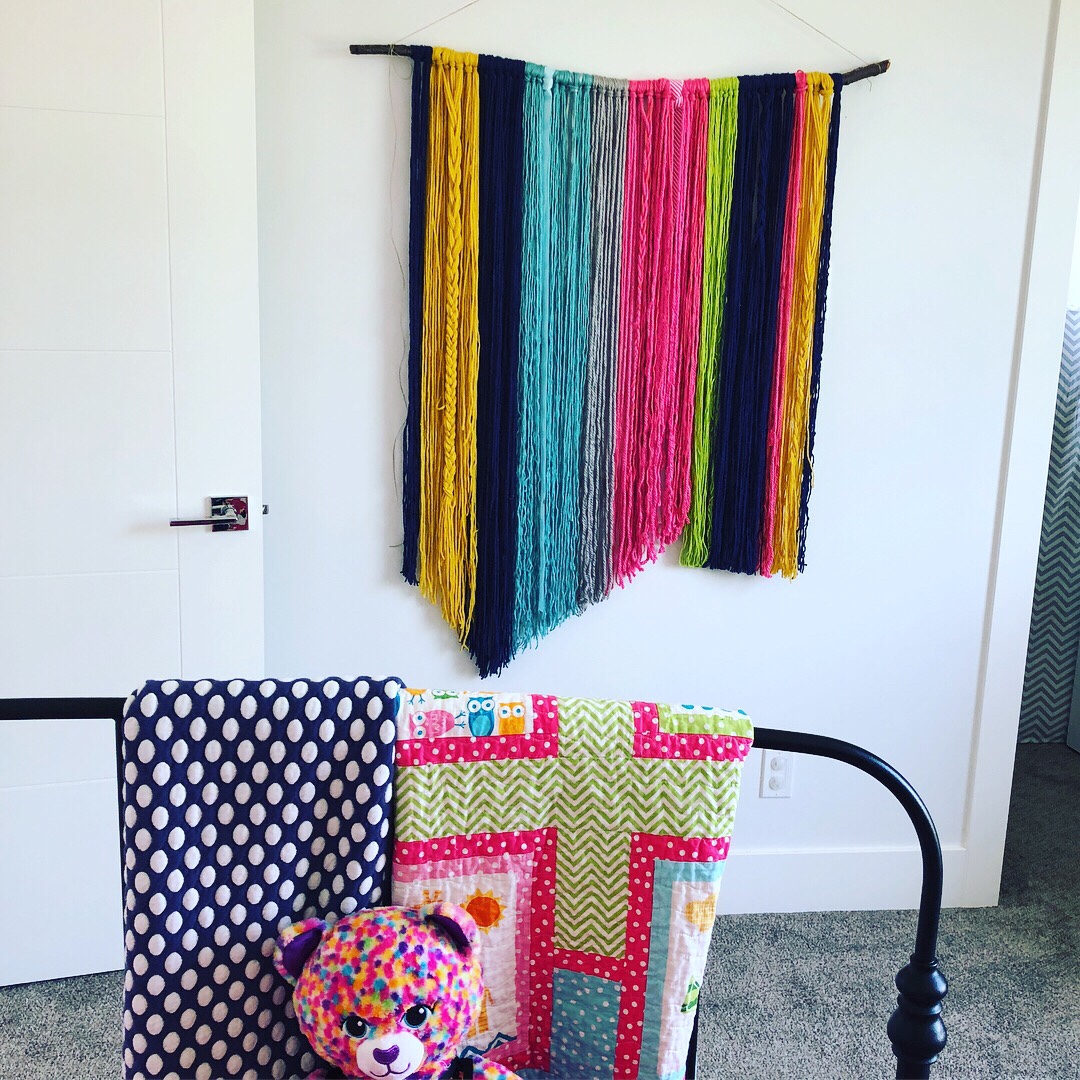
Now all your yarn will be long and have no shape at the bottom. Because your stick is already hanging take a look at what’s there and try to imagine what kind of shape you’d like it to have. You may want points, all one length, symmetry or asymmetry. I decided I wanted various lengths and several asymmetrical points. Now comes the nerve wracking part- CUTTING! Remember that the yarn will bounce up once it’s cut and the weight is removed from the ends. You can always go shorter, but not longer so err on the long side if anything. Cut until you are happy. Braid any strands you like to add texture, and you’re done! A fun project and a great way to add a pop of colour to your space!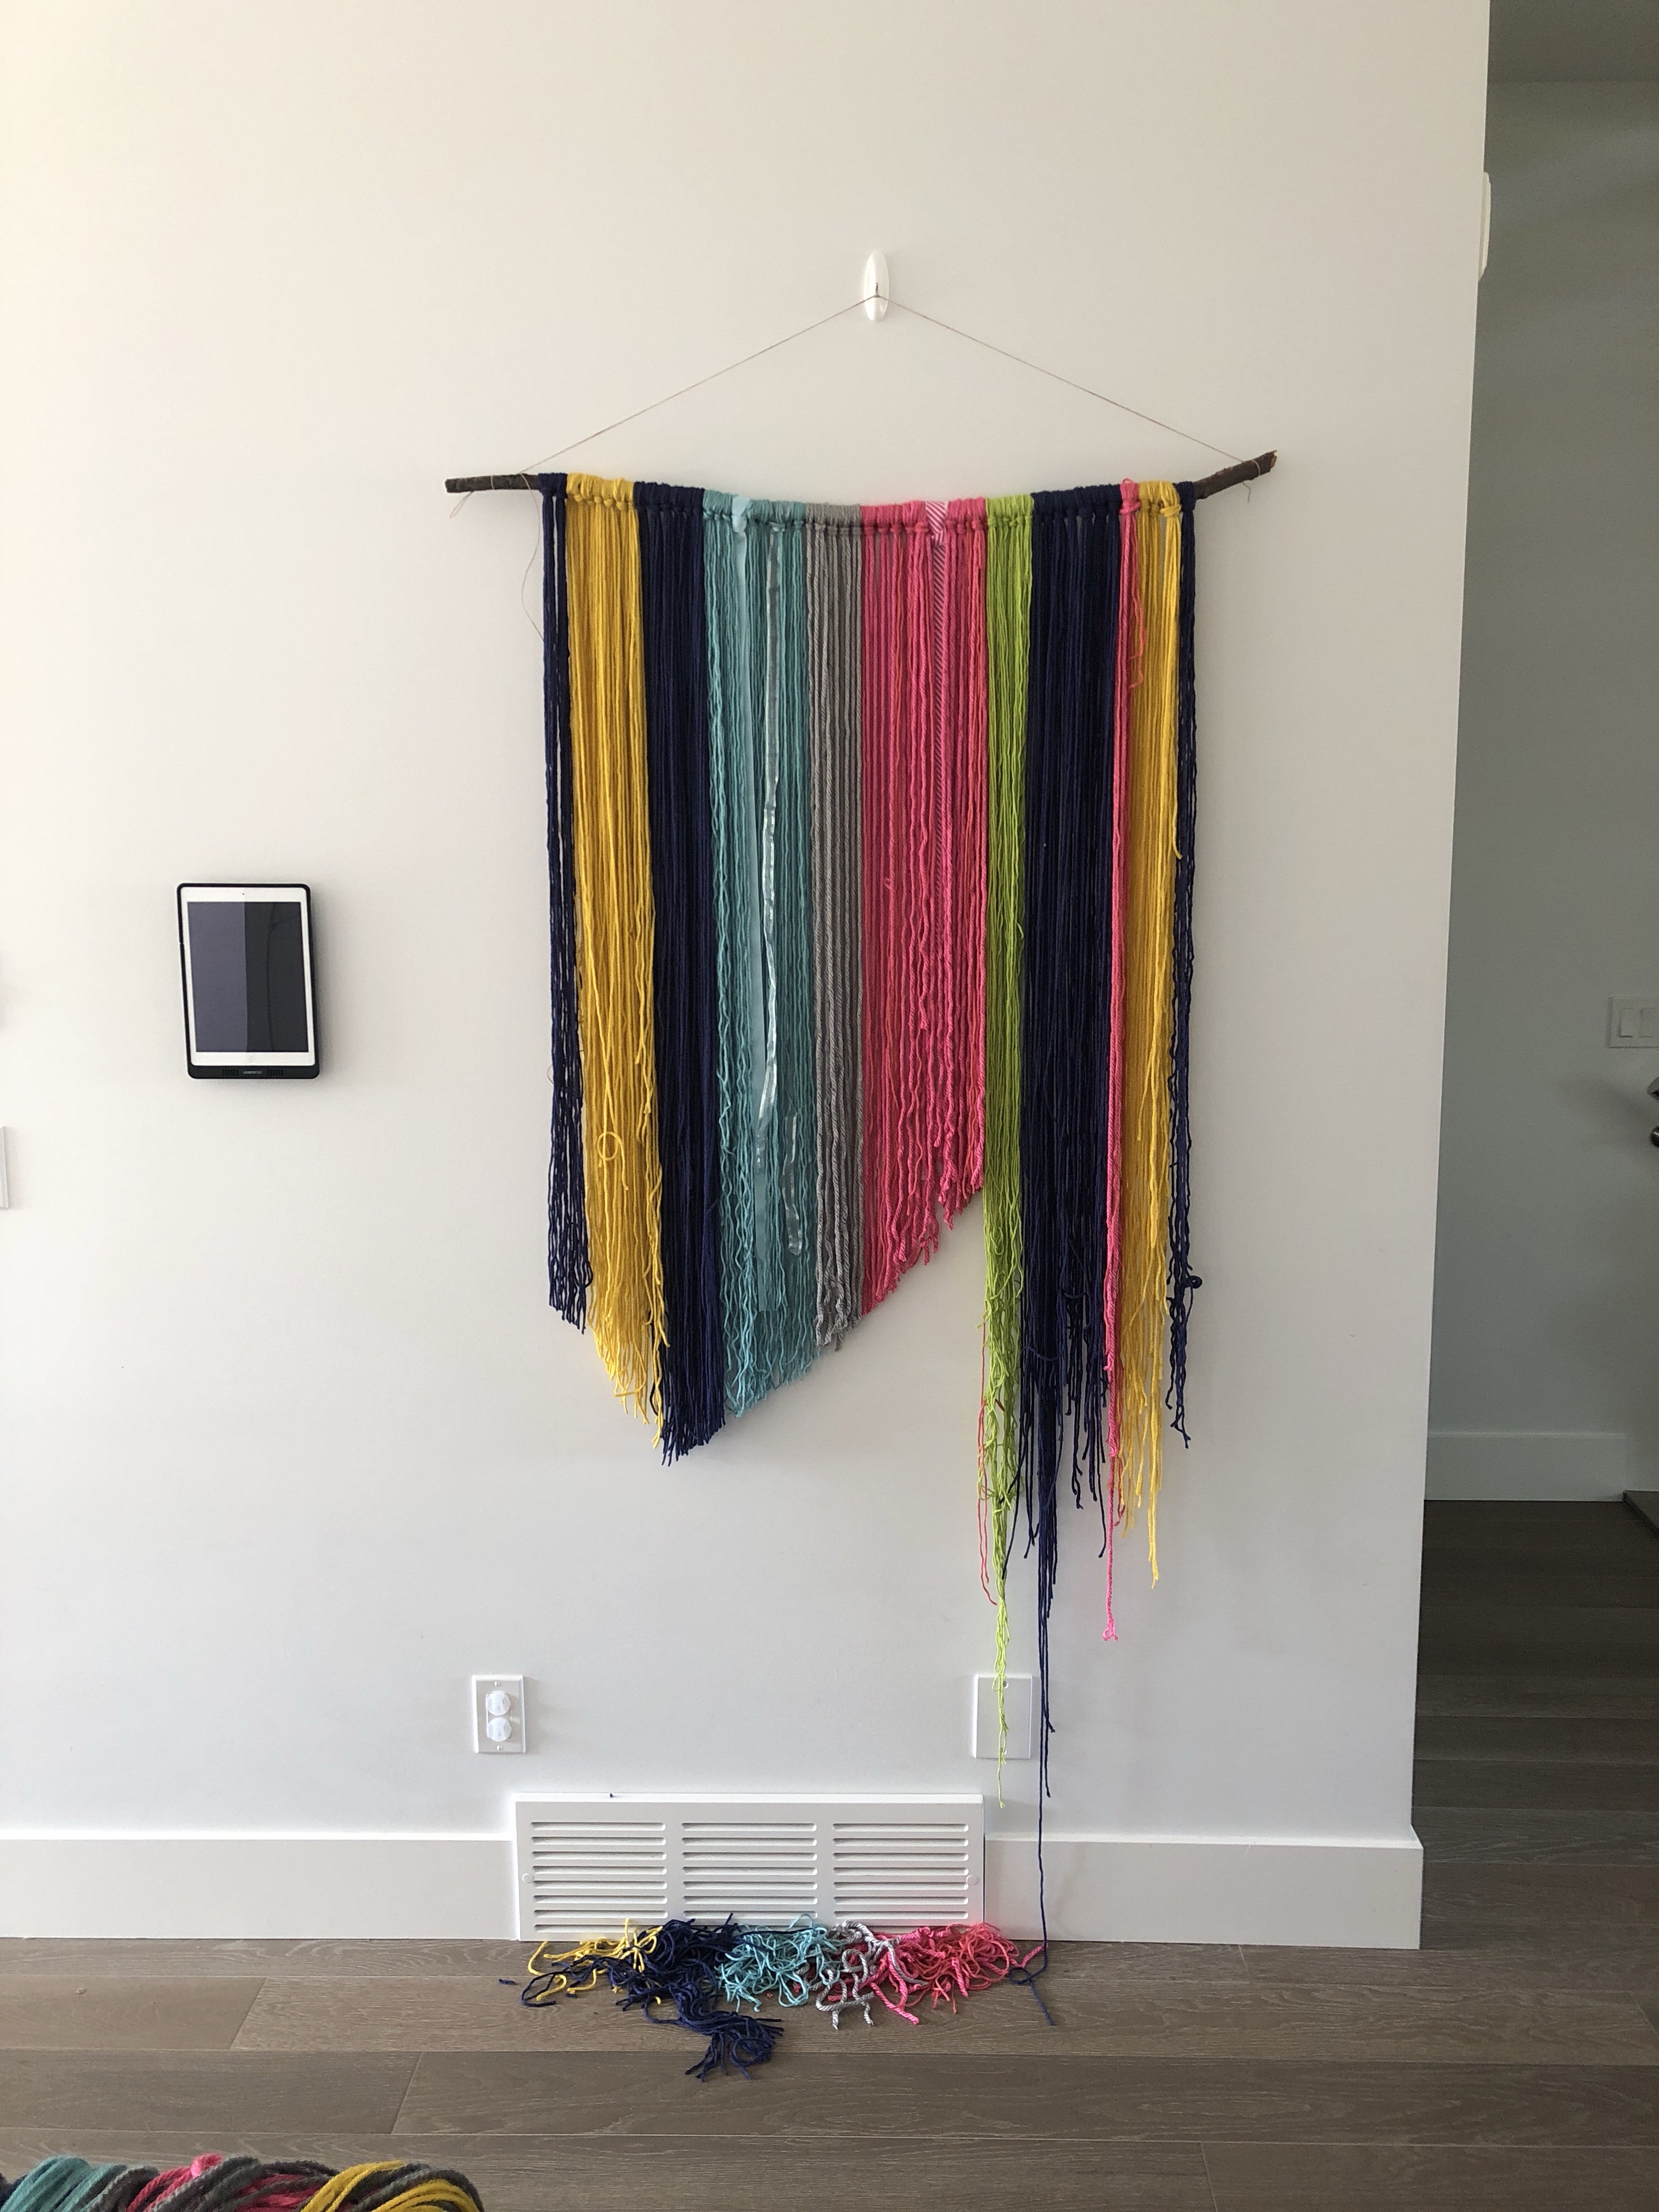
Update- I loved my first wall hanging so much I have made two more for my children’s bedrooms. Photos added below for more inspiration!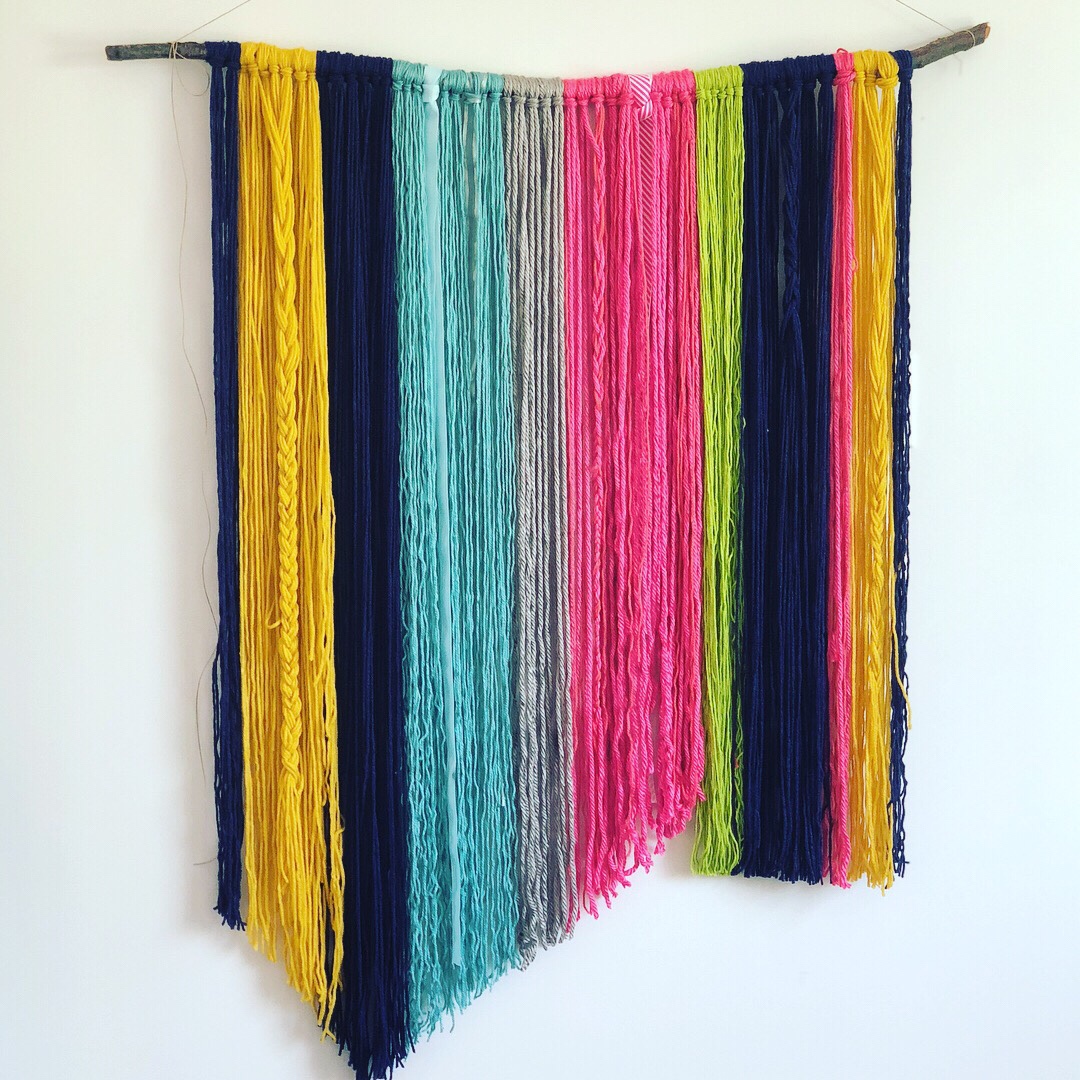
 Jess
Jess
Recent Comments